
Creating a team space
Team Space
As described, spaces are the hub for teams. To ensure we know who has access to the platform and to organize the teams correctly, the BL team needs to create the space framework.
Step 1 Create Space
The platform manager will create a space via the admin area by selecting New Space.
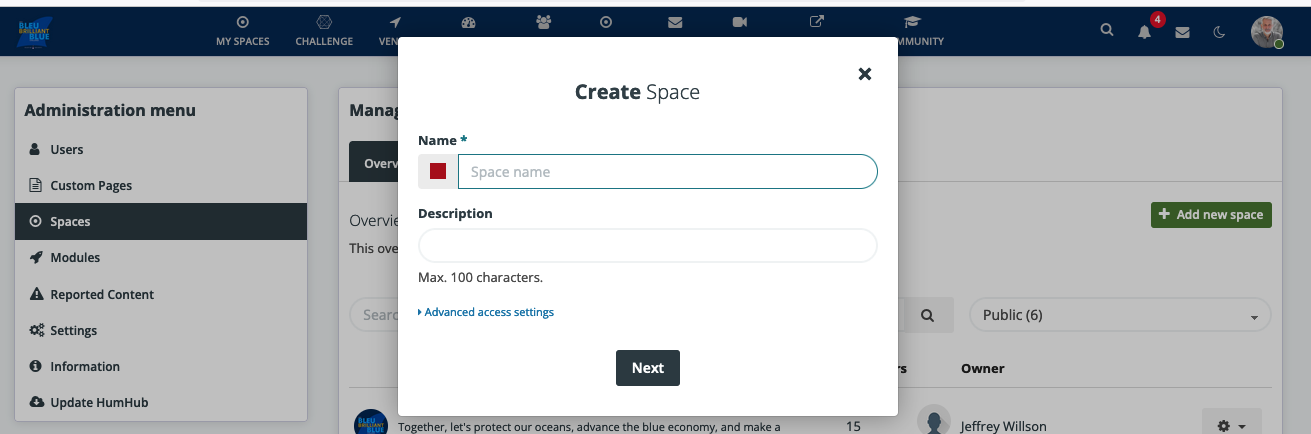
- Add the space name and a short description we received from the teams.
- Set Visibility to: Public (as we want to share this information).
- Set Join Policy to: Invite and Request.
Step 2 Manage Space
After creating the space, we do not invite members right away. First, we make sure all basic settings are set:
Step 3 Invite team members to Space
Using the Invite button, choose Email and enter the emails, comma-separated.
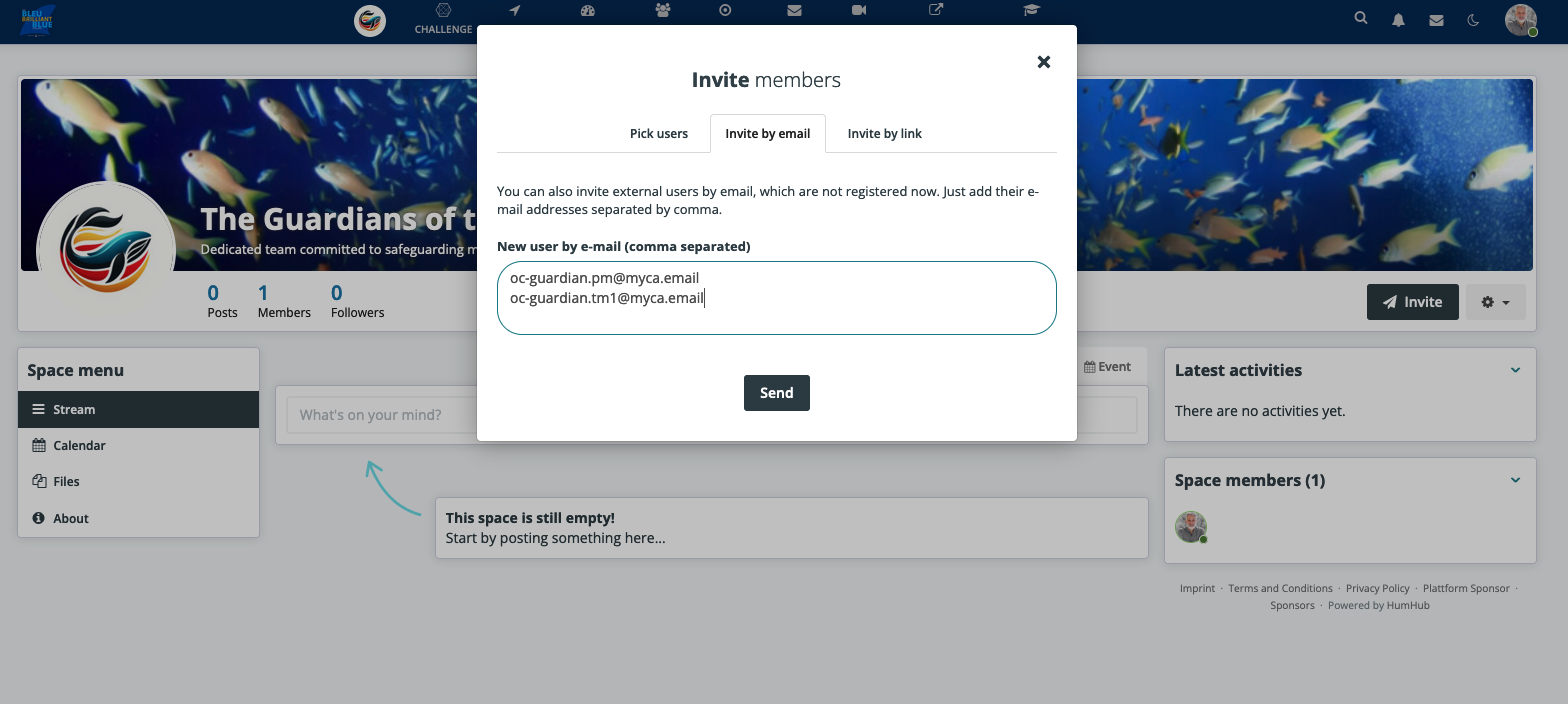
This will send the following email:

Step 4 Manage Team members
- Approve the new users.
- Add the users to the main Category Group.
- Set the correct Title with ID - Country - Team Name (for example: HM-001 - Germany - Guardians of the Oceans).
- Set PM as Space Owner.
Step 4 Teams will mange there space now
We need team documentation, which we will link after we have completed our tests. This documentation will be linked under Help in the user menu.