Advance Workspace Area
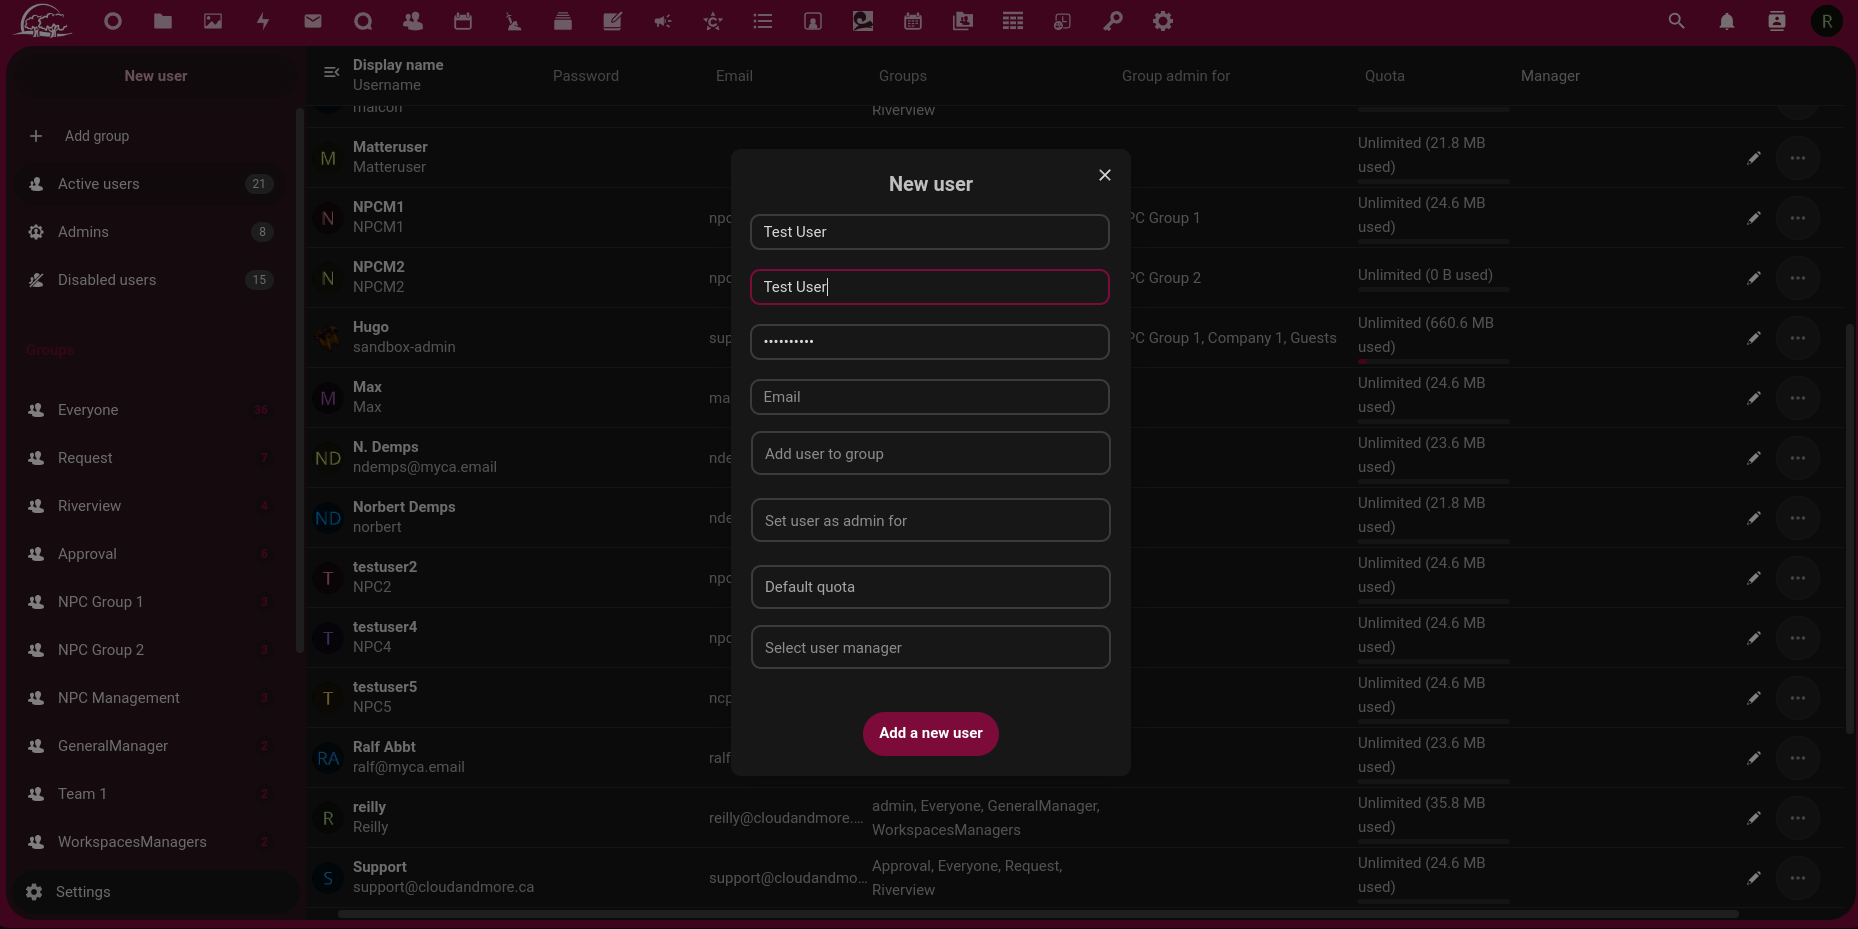
Creating New User: When you click on "New User," a dedicated tab will open, allowing you to seamlessly input and classify essential information. Here, you have the flexibility to assign users to specific groups or designate them as administrators for their respective WorkSpaces. Additionally, you can appoint a manager to oversee and manage individual users. Notably, the process is streamlined, requiring only a password for user creation—email details are optional. As a security measure, the password is verified through a confirmation step to ensure accuracy and data integrity.
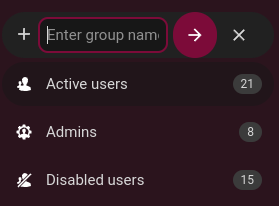
Tabs Under New User: Within the "New User" section, you have the ability to create new groups simply by entering the desired group name in the "Add Group" field. Additionally, the platform offers three distinct categories: "Active Users" provides visibility into currently active and online accounts within Workspace, "Admins" showcases individuals with administrative privileges on the site, and "Disabled Users" presents a list of accounts that are inactive yet retained, ensuring that these accounts are neither accessible nor deleted. This feature provides comprehensive control and insight into user management on the platform.
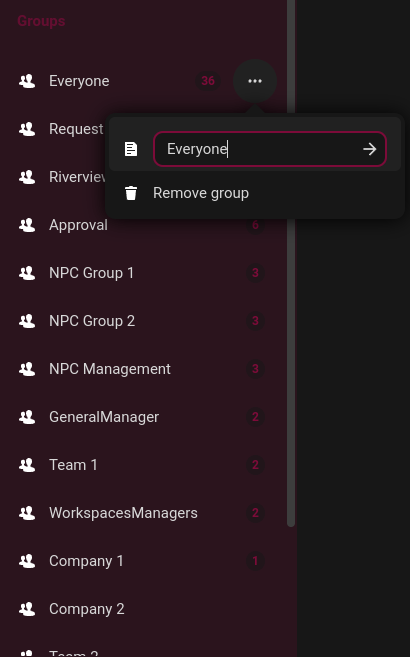
Tab of Groups with list of all groups: Beneath the "New User" section, you'll find a list of existing groups. Clicking on any group reveals a detailed view, showing the members included and providing a count of how many individuals belong to that specific group. Each group features a three-dot icon on its bar, offering convenient options such as modifying the group name or opting to delete the group altogether. This functionality ensures ease of management and customization for efficient group organization.
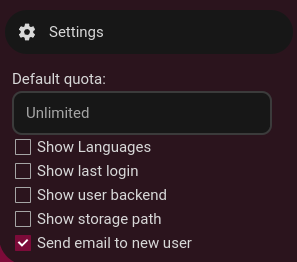
Settings: In the bottom left corner, you'll find the "Settings" option, offering customization for your viewing preferences. Among the options, "Show Languages" displays the default language chosen by each user, while "Show Last Login" provides insights into the last login time, showcasing either the month or year of the user's most recent activity. "Show User Backend" offers visibility into the data storage location, and "Show Storage Path" reveals the path to access user information within the server or computer where it is stored. Additionally, there's an option to send a welcome email to new users. A crucial setting is the "Default Quota," enabling you to establish an automatic data limit for each user upon their initial creation, streamlining the user management process.
Main Display Of Users Pencil Mark: To make changes to user details, navigate to the right side of the screen where the user list is located. Click on the pencil icon next to the user's name to access a range of customizable options. Once inside, you can modify the display name by selecting it and clicking the pencil icon adjacent to it. From there, you have the flexibility to set a new password, update the email address, manage group affiliations (both membership and administrative roles), adjust the user's quota, and designate a manager. Additionally, you can alter the default language, although accessing this option requires enabling "Show Languages" in the settings at the bottom left corner; be mindful that toggling this setting may temporarily hide the manager option. After making the desired changes, click on the checkmark icon that replaces the pencil, confirming and finalizing the modifications.

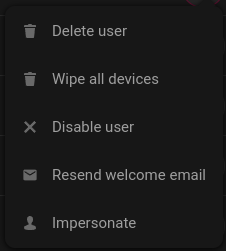
Main Display of Users 3 dots: On the user bar, beside the pencil icon, you'll find three dots that, when clicked, unveil a dropdown menu with various actions. Firstly, you have the option to delete the user if they are deemed unnecessary. Choosing "Wipe All Devices" logs the user out from all connected devices, ensuring their presence is forgotten from each. If you wish to retain the user without allowing any activity, "Disable User" is available, rendering them unable to perform any actions. "Resend Welcome Email" lets you resend a welcome email to the user if needed. The "Impersonate" feature allows you to log in as the user, offering a view of their account, access, and files, providing a perspective from their vantage point. To exit, simply click the user icon on the top right and choose "Logout" from the dropdown menu.