
Configure Outlook365 Weblink
In this article, we're going to show you how you can subscribe to a web calendar through Outlook 365. This tutorial will be using the Office 365 version of Outlook.
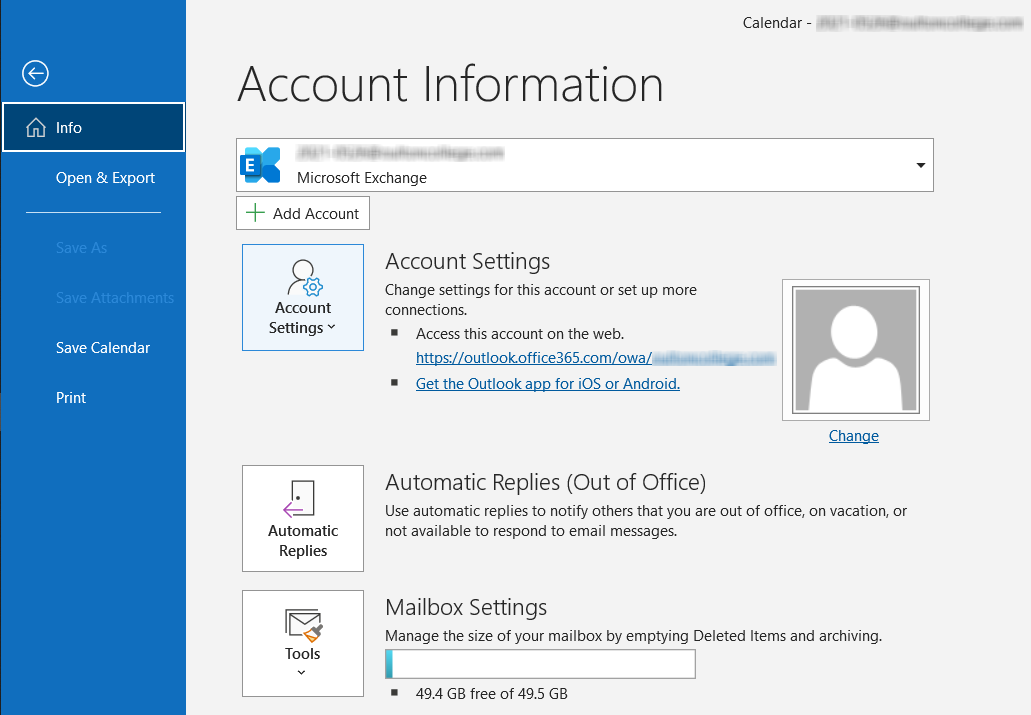
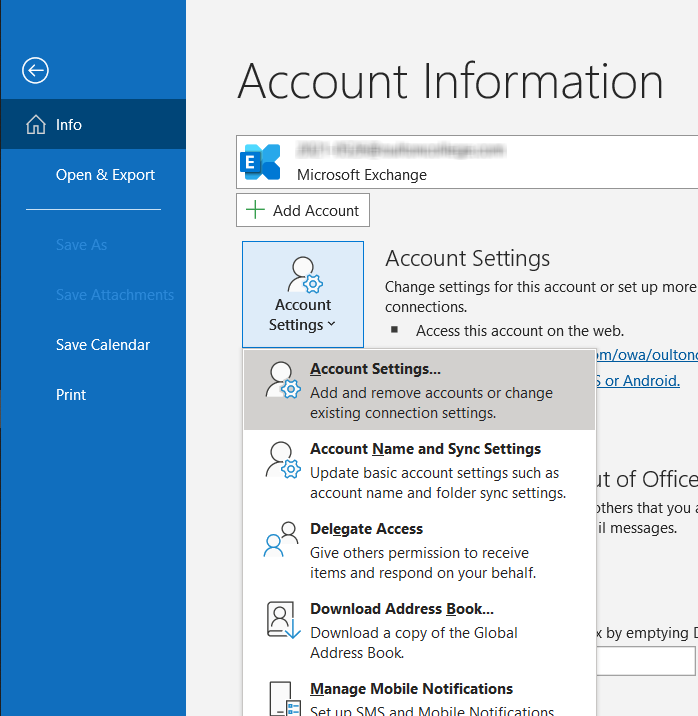
Step 1: Go to Files, then go to Account Settings, then when the drop down appears, click on Account Setting again.
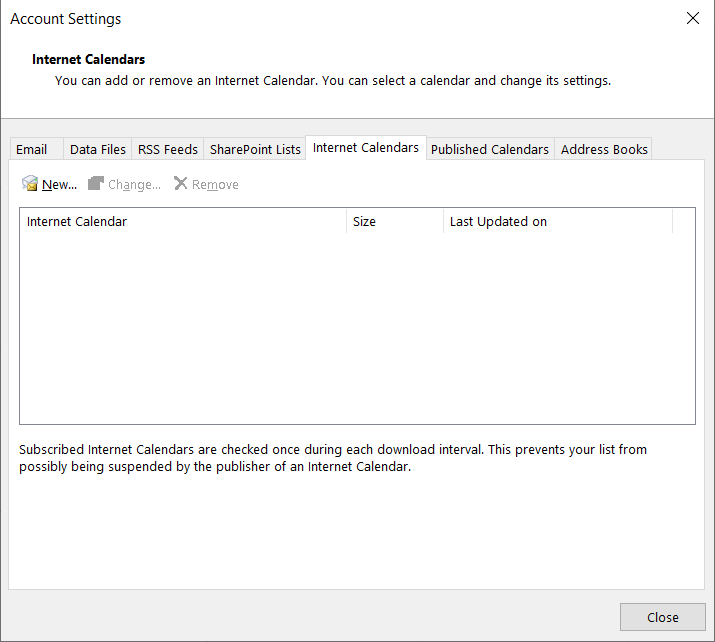
Step 2: Now go to the Internet Calendars bar and click on New...
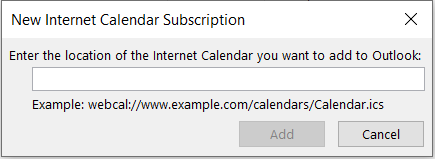
A new window will open to put in our weblink of our Calendar, put it in the text box and click add. (See Step 3 for where to find the weblink for your Calendar)
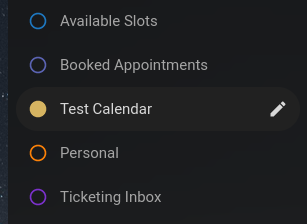
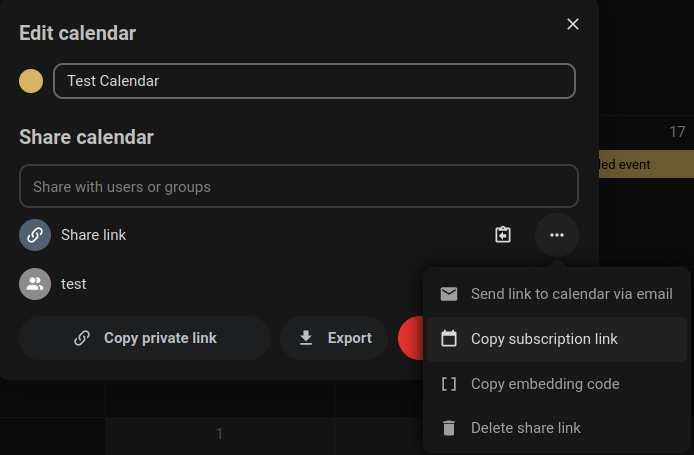
Step 3: Go to your Calendar dashboard in Nextcloud, then click on the pen icon on the Calendar you would like to use.
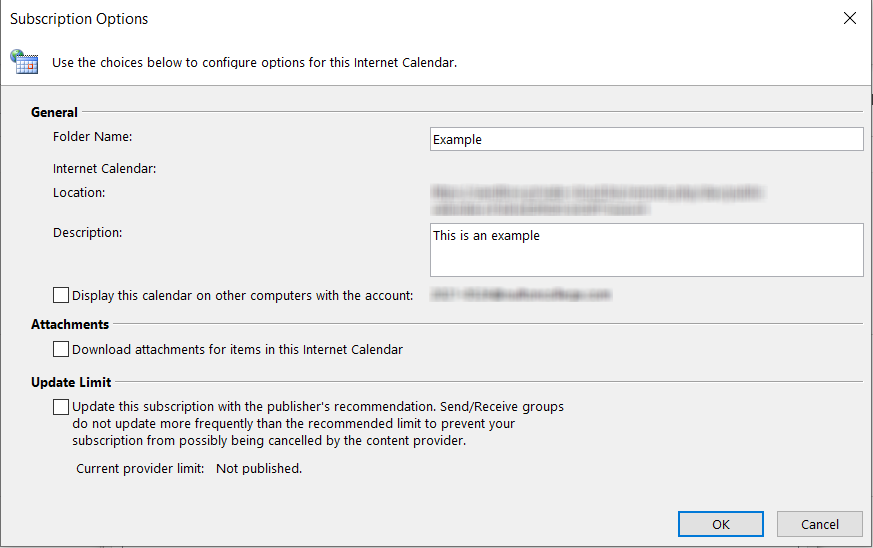
Step 4: Once you've put in your subscription link, the Subscription Options window will open. Here you can name your Calendar and give it a descriptor. You'll want to disable the "Display this calendar on other computers with the account" (email blurred for confidentiality) And disable the Update Limit option. Once you do both of these, click OK.
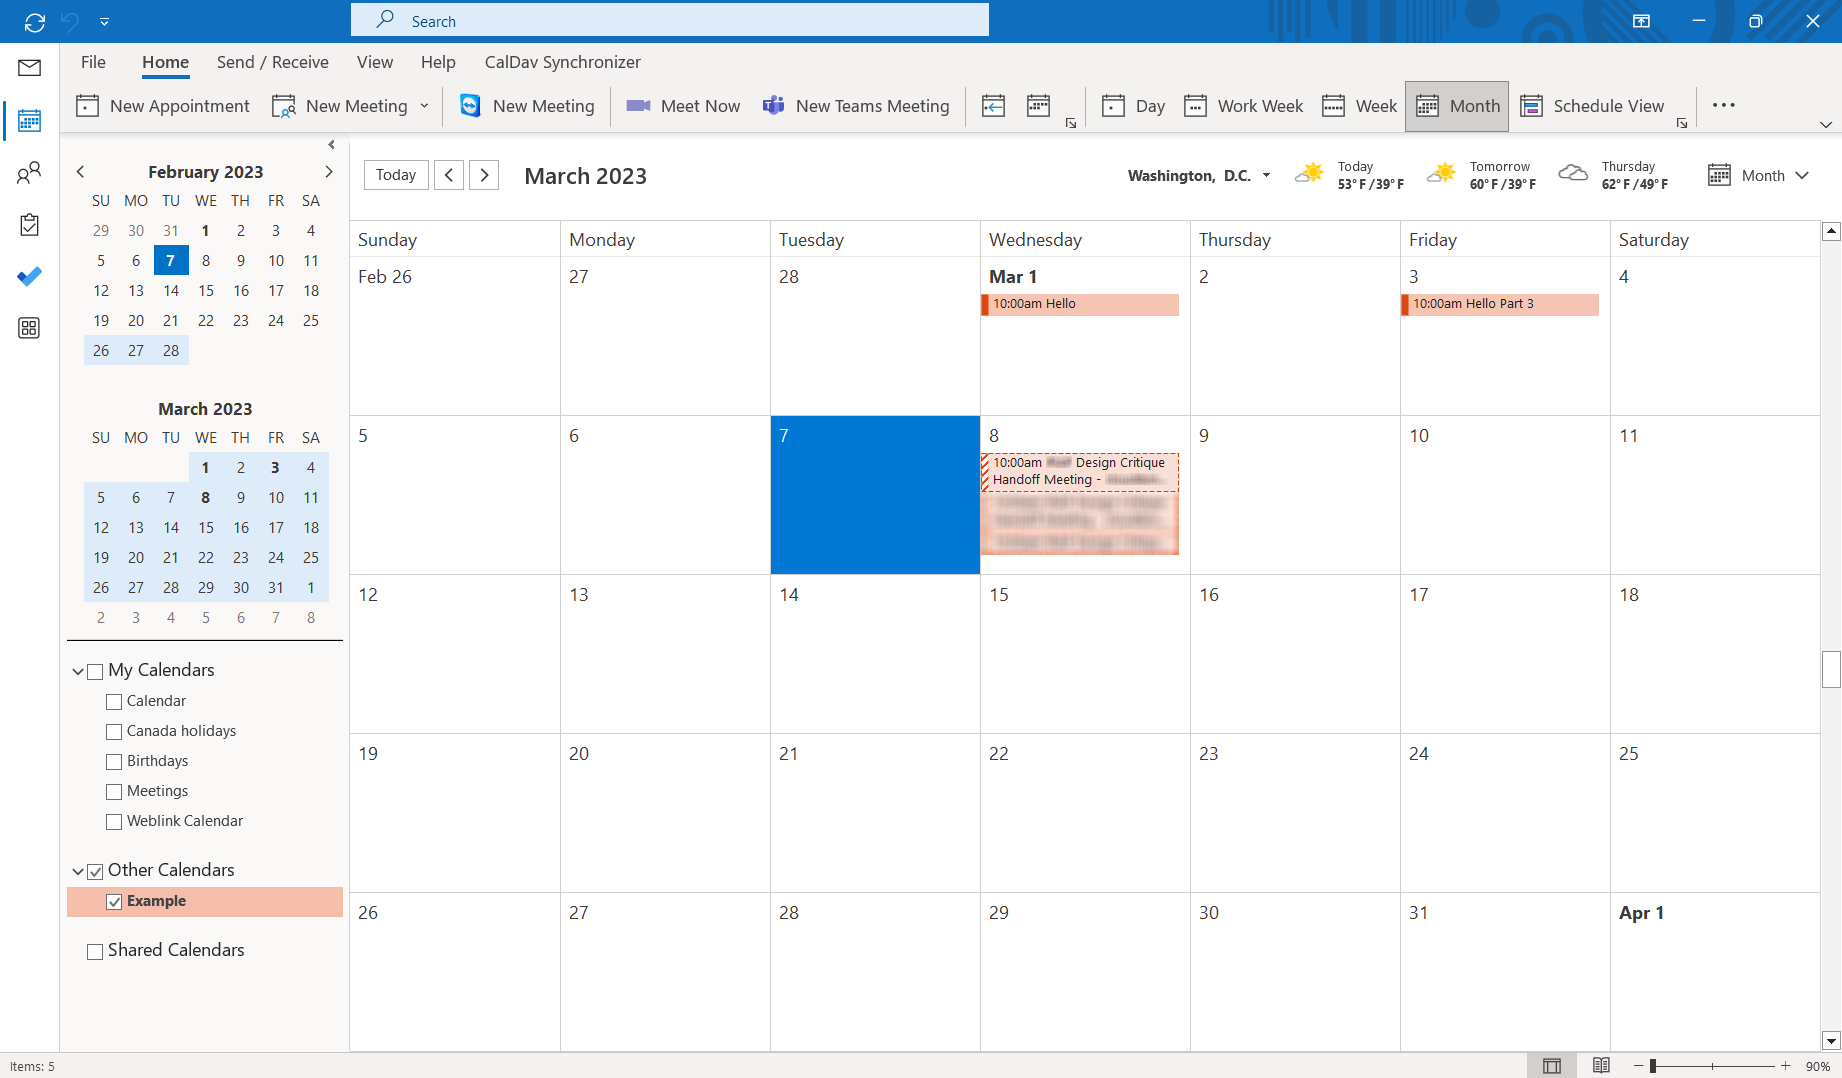
After a few seconds, your Calendar should appear. Every 30 Minutes, a new Send/Receive Request will be made to sync this Calendar. In the next step below, we will show you where this setting is so you can configure it to your liking.
How to change Send/Receive Request time limit.
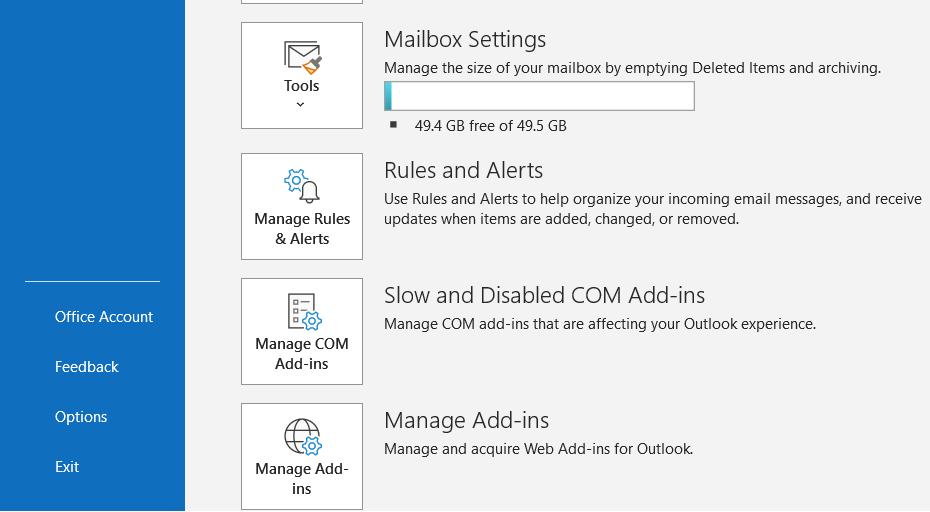
Go to Files and then scroll down to Options.
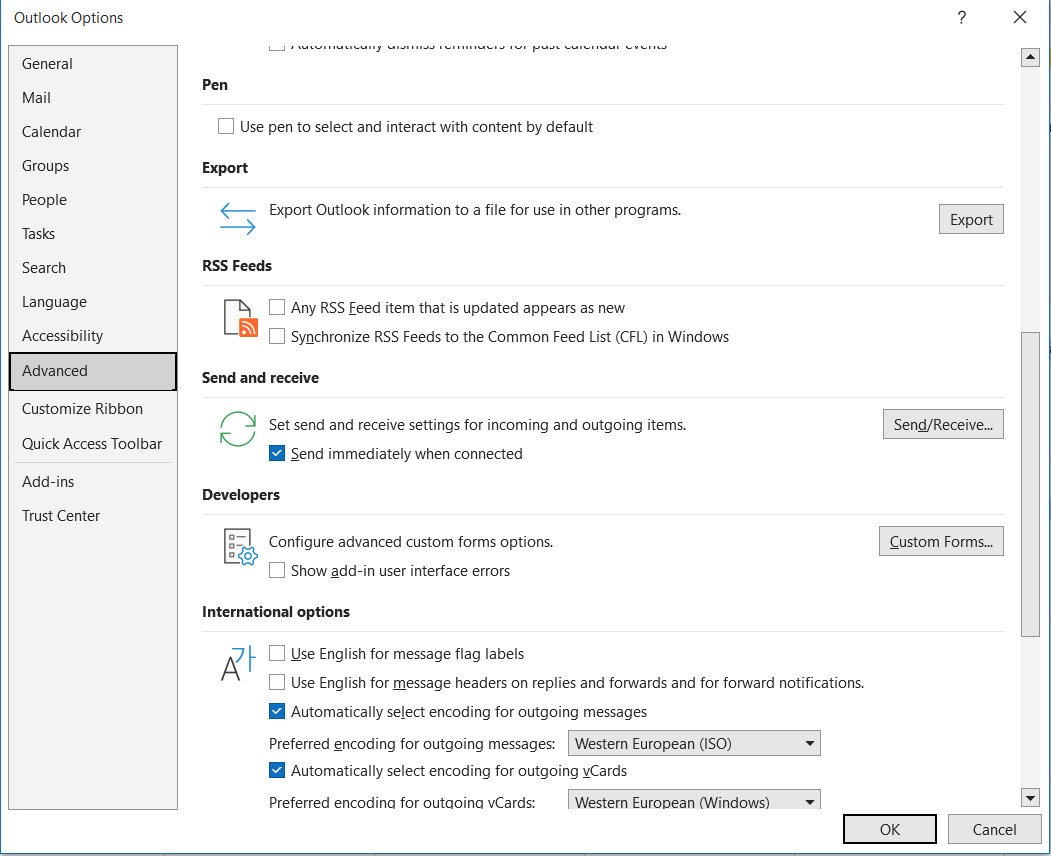
Then go to Advanced Settings then scroll down to Send and receive, then click on the Send/Receive box.
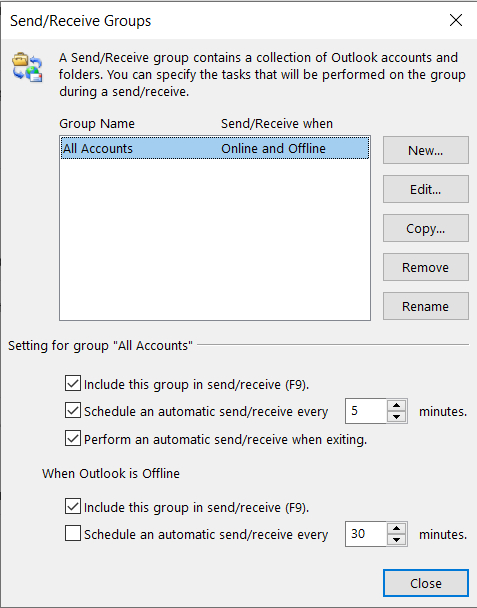
From here, we can set the time limit for for automatic send/receive requests, in the example it is set to 5 minutes, but by default it is set to 30 minutes.
If you have any other concerns or questions, please contact support@cloudandmore.ca for support!