Configure Outlook 365 Calendar to Nextcloud
This article will explain how you can add your Outlook Calendar to sync with Nextcloud. So far in the last few documents, we looked into how we can sync our Nextcloud Calendar into Outlook 365, however you can do it the other way as well. So with that context in mind let's continue.
Step 1:
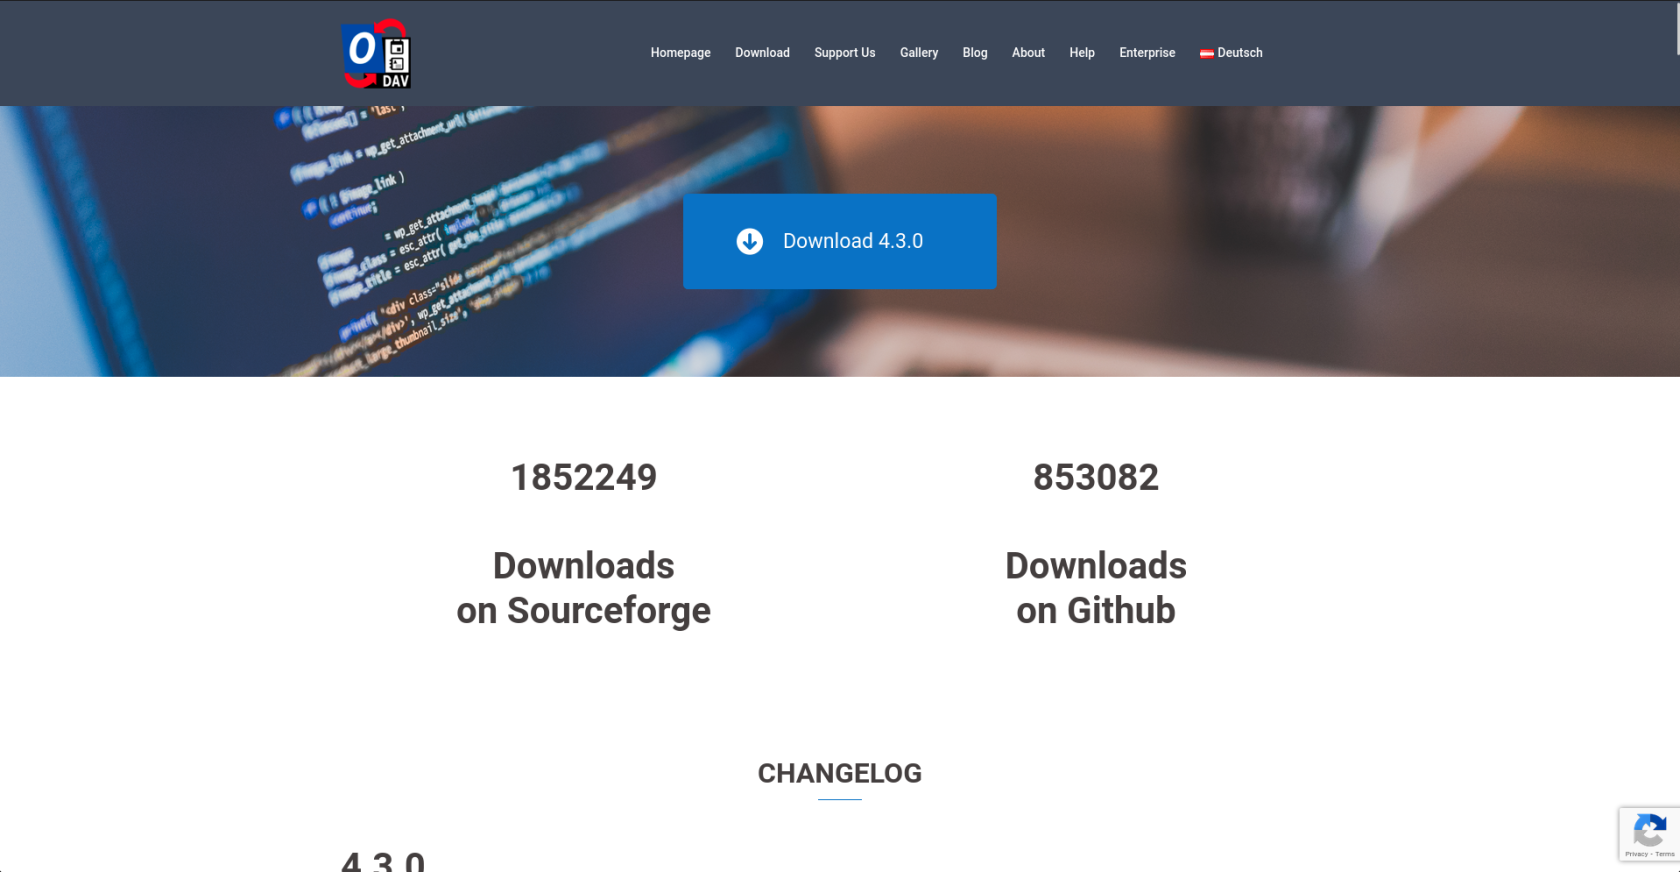
Go to this link (https://caldavsynchronizer.org/download-2/) and download current version provided.
Step 2:
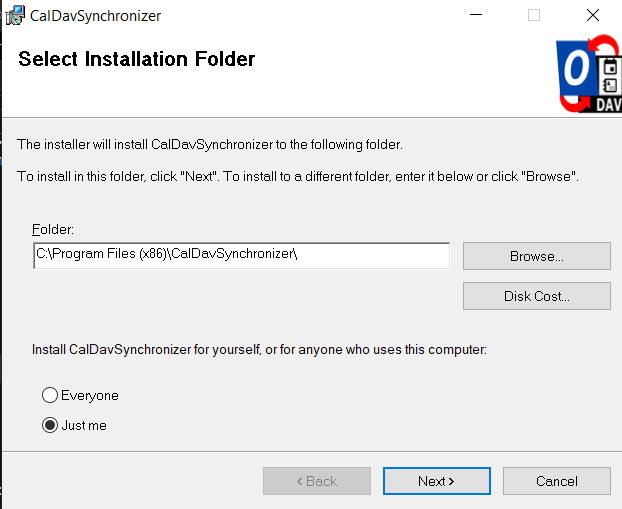
Open the zip file and click on the setup file. An installation wizard will appear, click next. At the select installation folder screen, you'll see below the installation path two options, keep it on Just me and hit next.
Step 3:
Once the installation is complete, proceed to either restart or start Outlook, it should automatically be added to Outlook while it opens up. (Note: The free version of Outlook and Browser version are not supported, you'll need the Microsoft 365 version of Outlook for the addon to install)
Step 4:
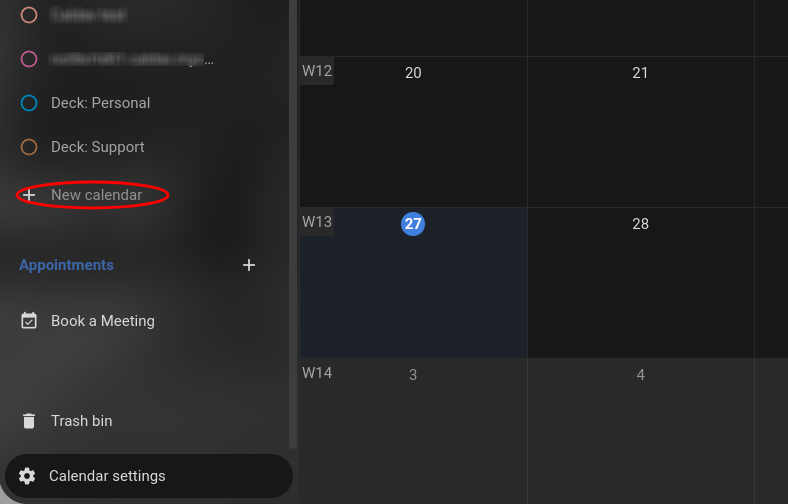
Now that we have the addon installed, we can get started. Go to your Nextcloud, then go to your Calendar app. Once there, you'll want to create a new blank Calendar. And while you're here, you can also grab your CalDAV Address, go to Calendar settings, scroll down and click on "Copy CalDAV Address".
Step 5:
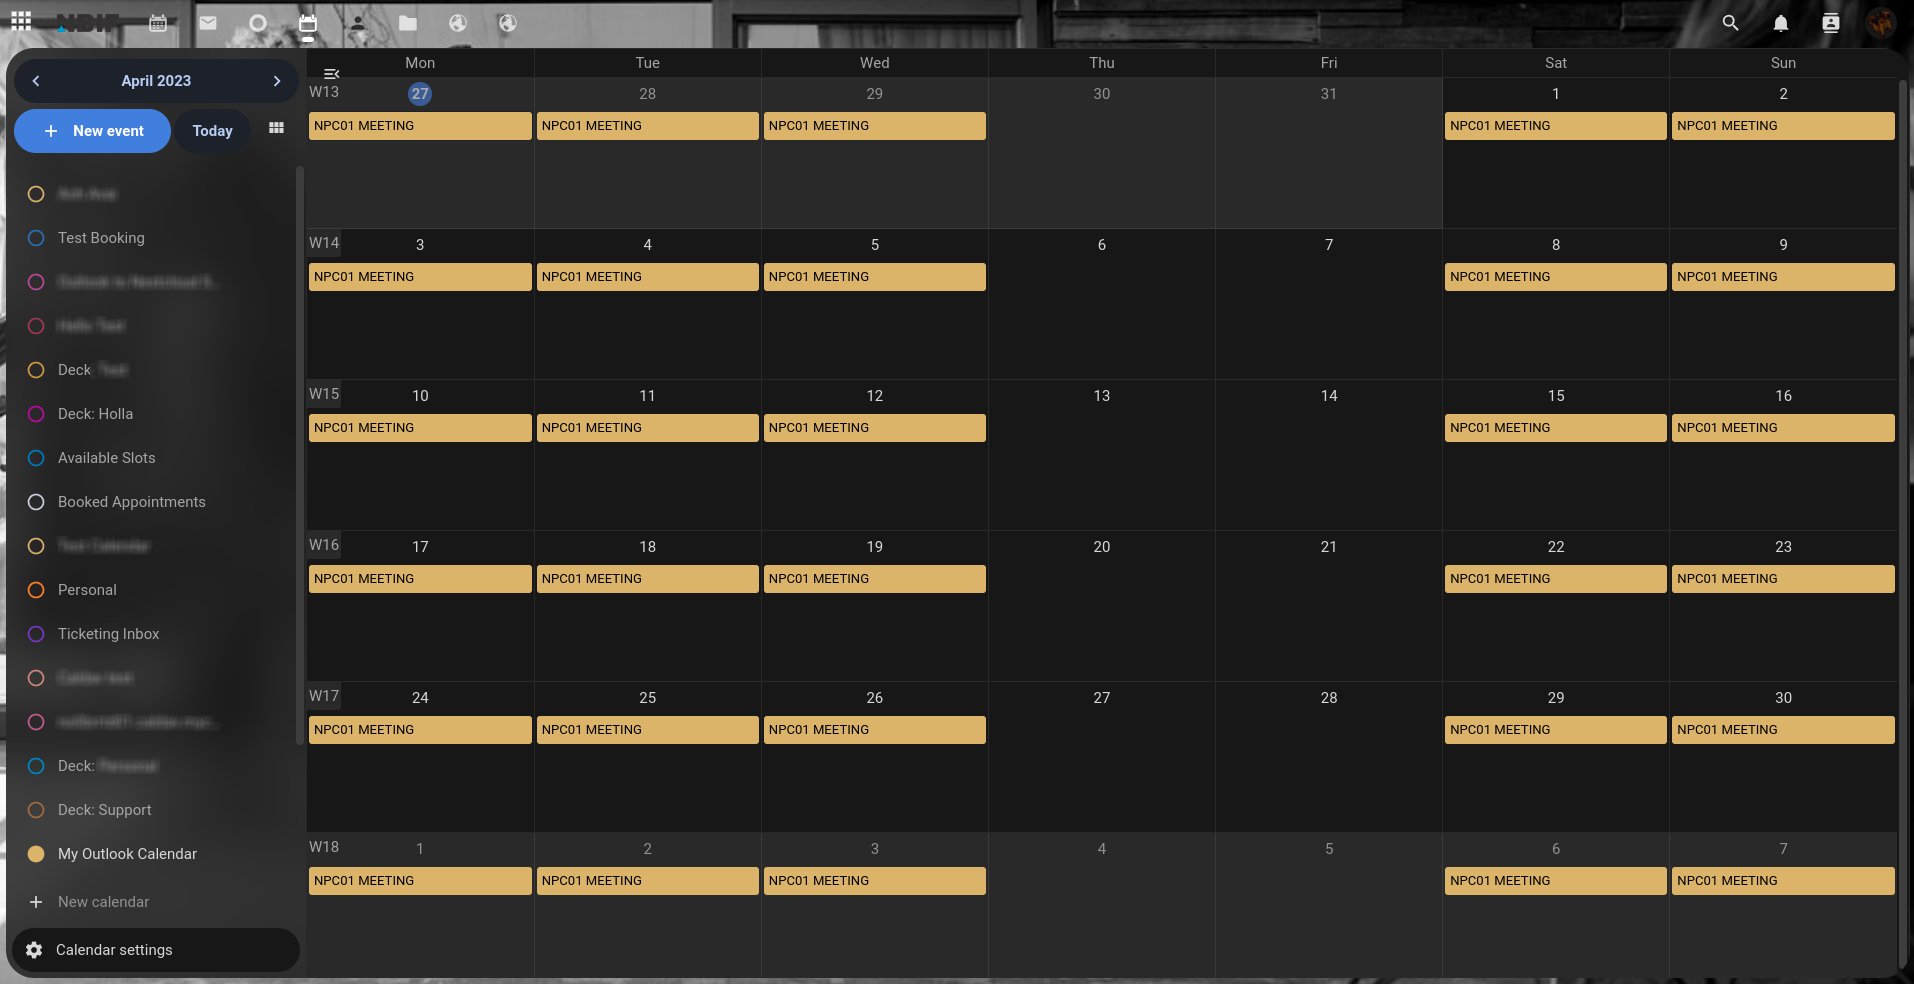
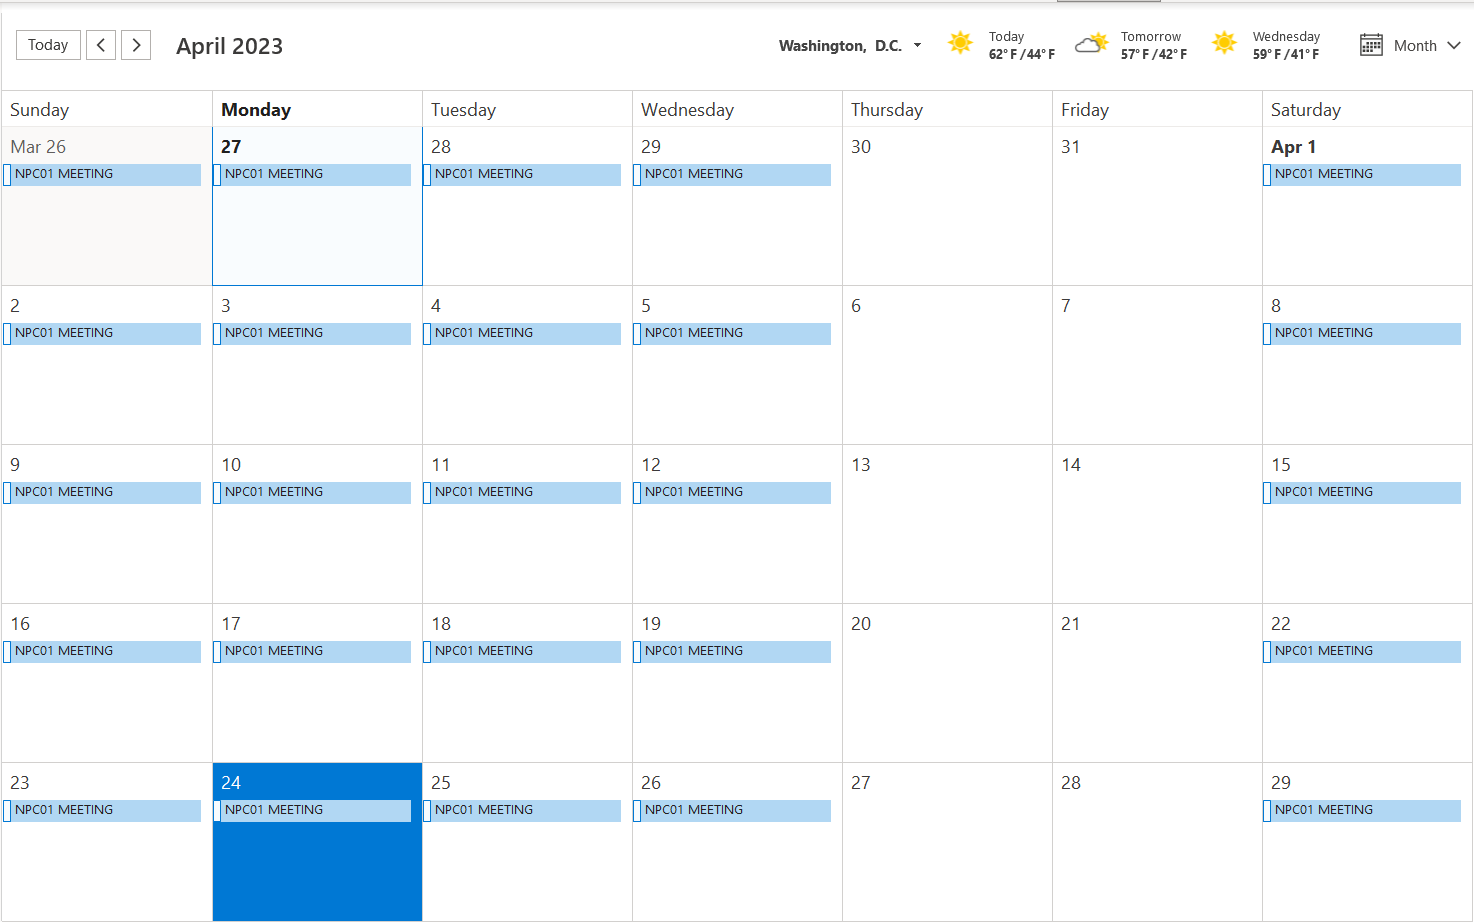
Below is a example calendar that has been created in Outlook, we will be adding this Calendar to the blank Nextcloud Calendar we just made.
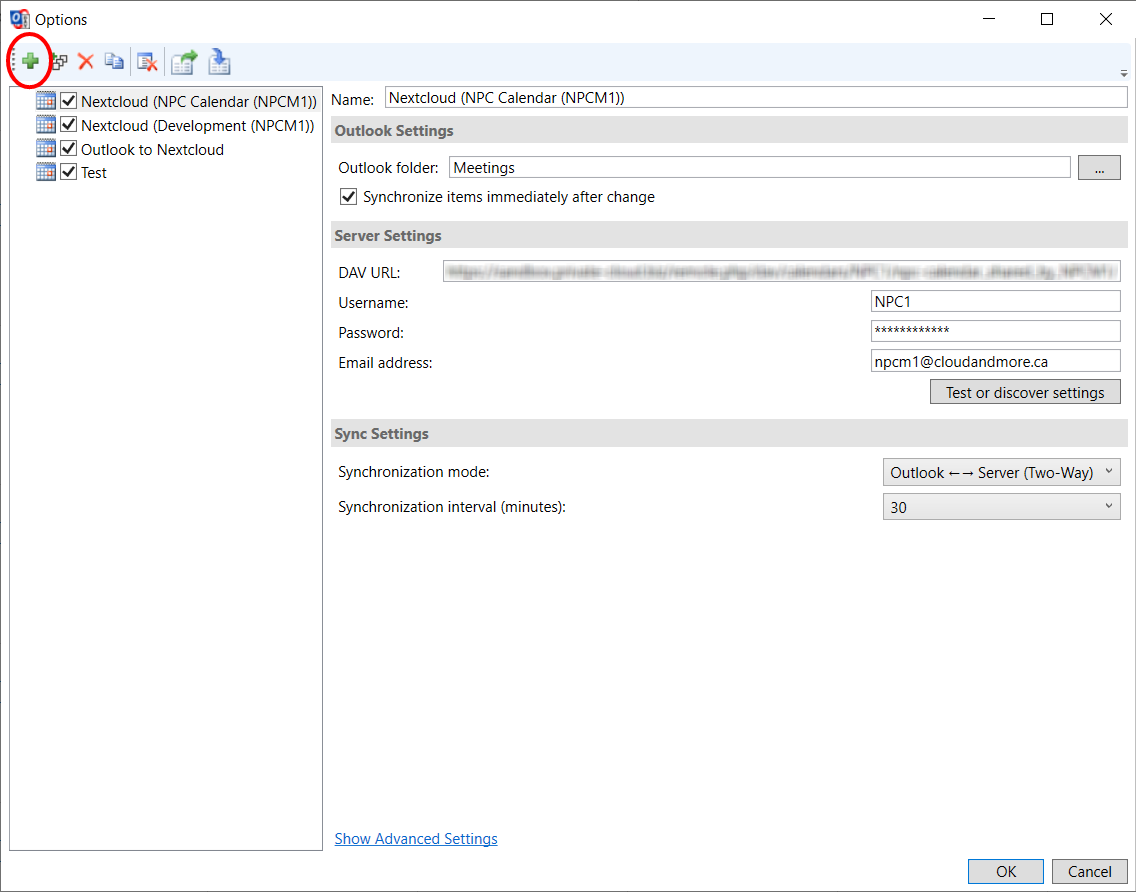
Click on the CalDAV Synchronizer tab and click on Synchronization Profiles.

Click the green plus in the corner to create a new Profile.
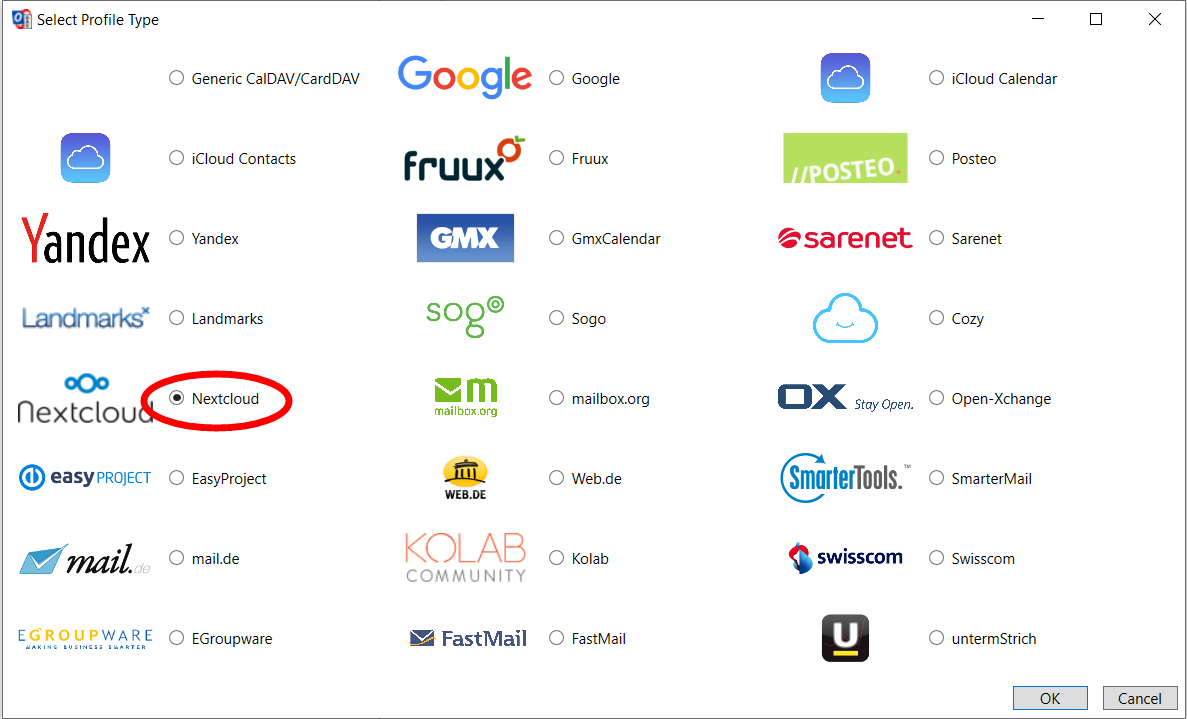
Select the Nextcloud option.
Step 6:
Now that we've created our new profile, put in your Nextcloud Account and password to authenticate the connection. Once done, we're going to want to select Outlook Folder.
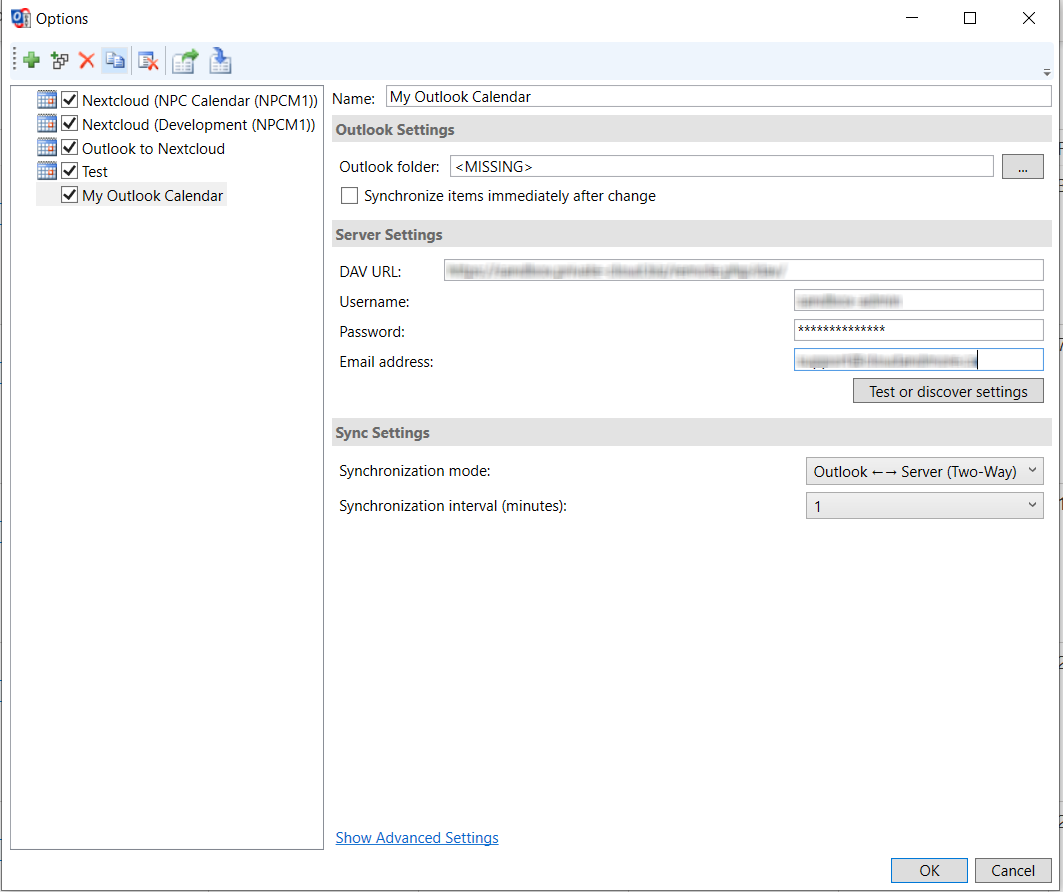
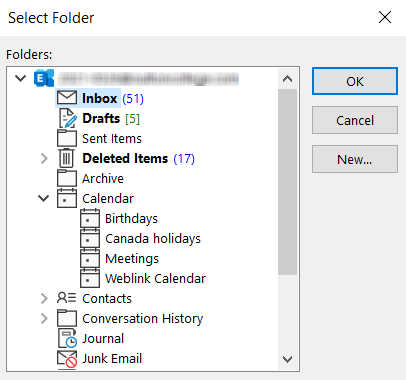
Select the Calendar that has all of your entries, in the case of this tutorial, the "Calendar" Folder is where all of our stuff is located.
Step 7:
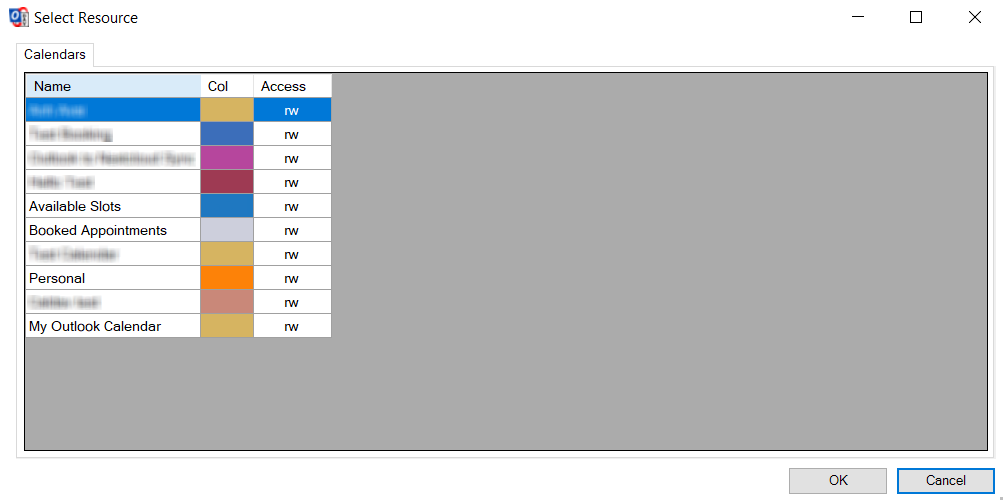
Once you've selected your Calendar and you're back at the main option screen, click on Test or Discover settings. After a few seconds, a list of all of the Nextcloud Calendars you either own or are shared with you will appear. At the bottom of the list shown below is the Calendar we made at the beginning of this tutorial, select that Calendar and click ok.
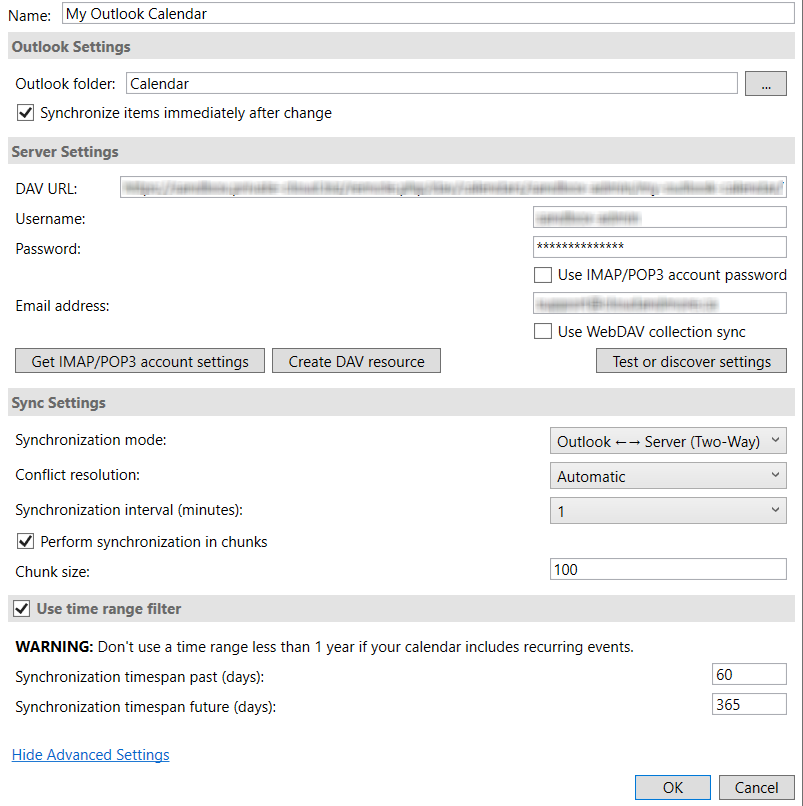
Before we finish up, we should make sure that a few additional settings have been configured.
At the bottom of the Options screen, click on "Show Advanced Settings". The settings you'll want to activate the "Synchronize items immediately after change" option underneath the Outlook folder bar. In "Sync Settings", set the Synchronization interval to a shorter time as it default to automatically sync every 30 minutes.
Once you've closed the Options window, go back to Nextcloud and reload the page. Afterwards, you'll see all of your Outlook events now populated in Nextcloud. Congratulations, you've successfully added your Outlook Calendar to Nextcloud.