
eM Client Manual Configuration
In this article you will learn how to connect your hugomail account to eM Client using their manual configuration system.
Step 1.
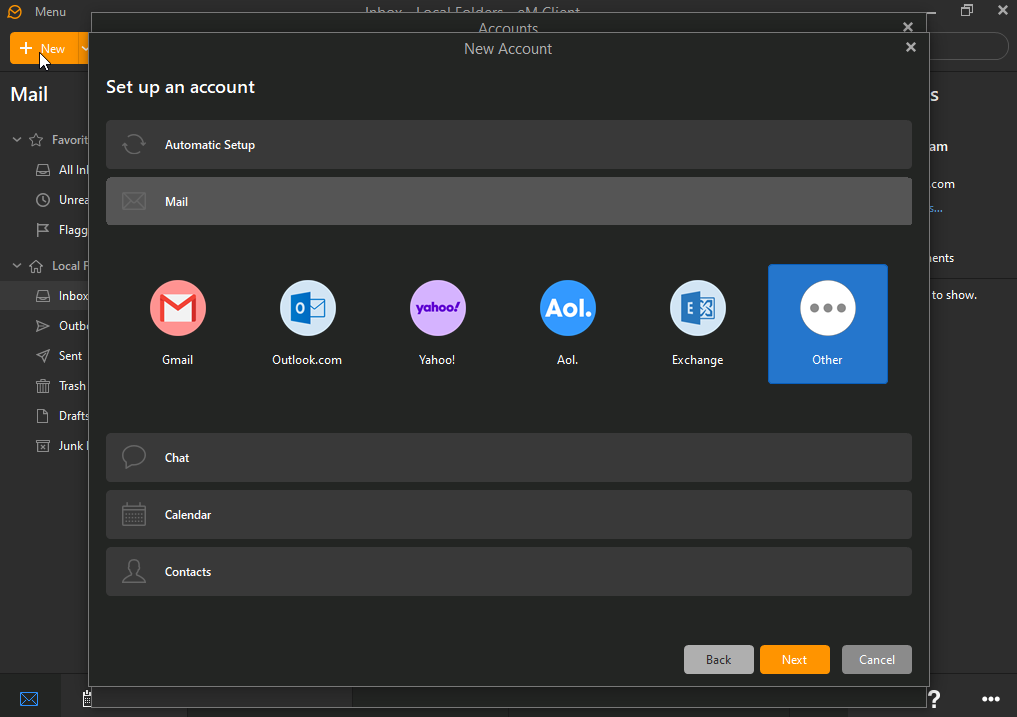
When prompted to set up your account select mail then other.
Step 2.
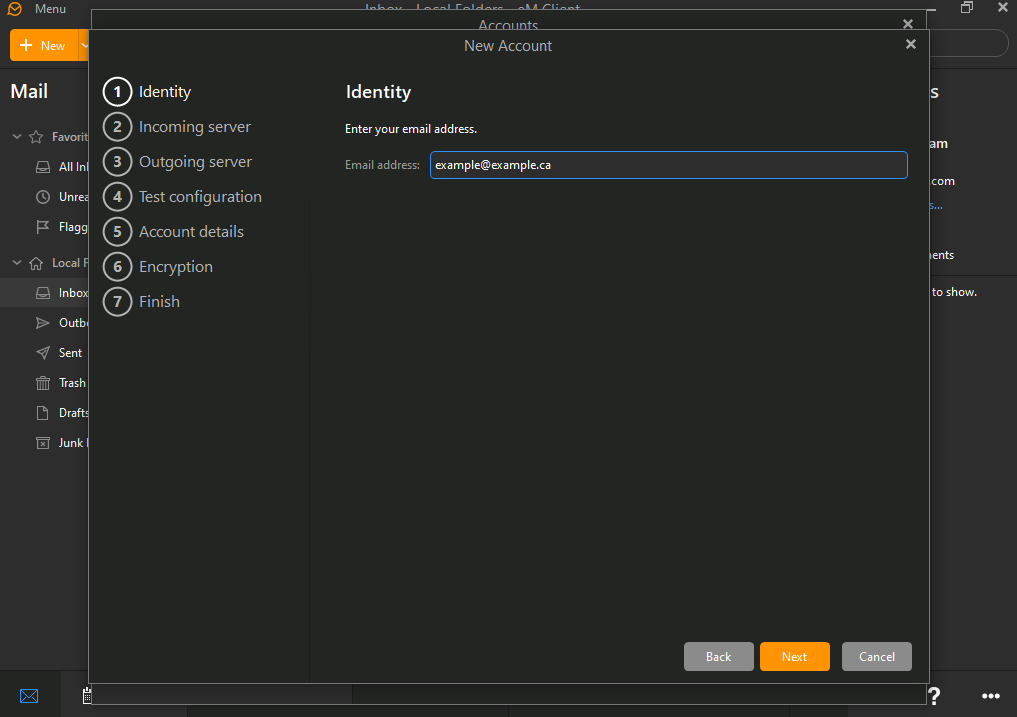
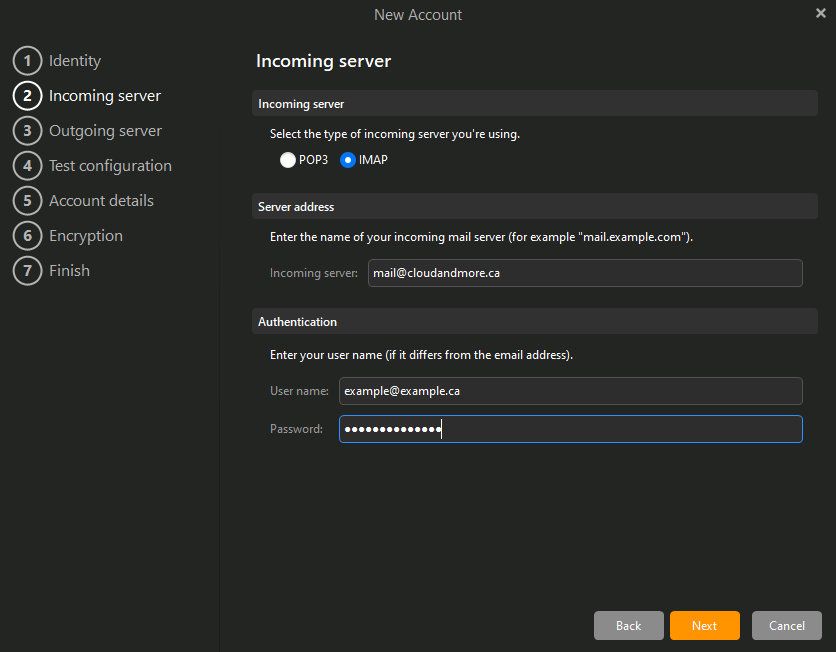
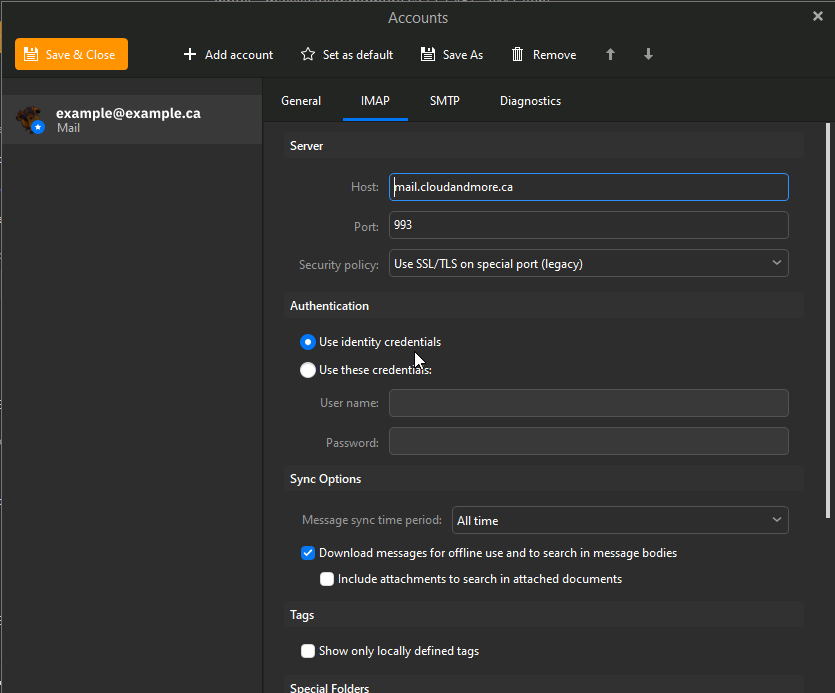
Fill out the info as requested. For your incoming server, select IMAP, and for the server address bar, insert mail@cloudandmore.ca, then for authentication, use your email to as the authentication account.

Step 3.
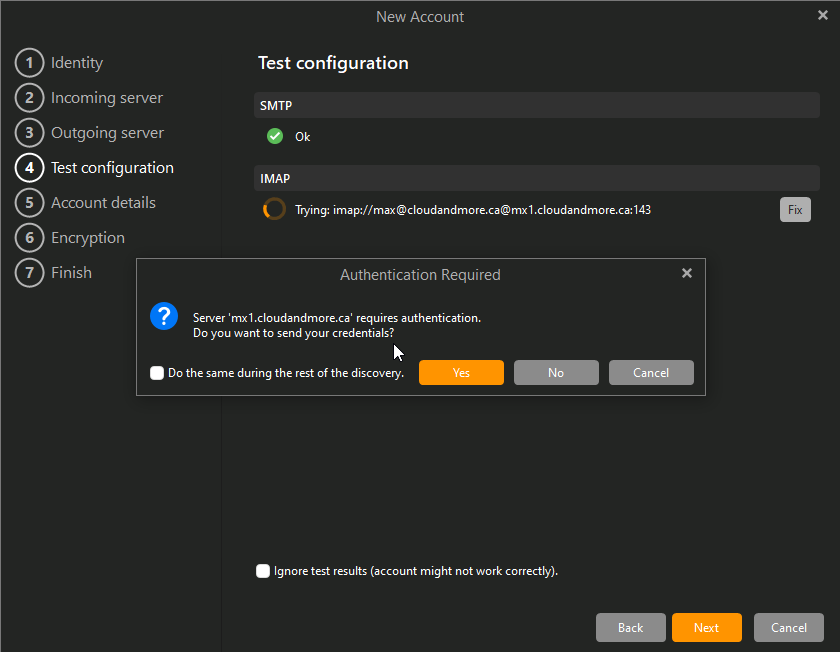
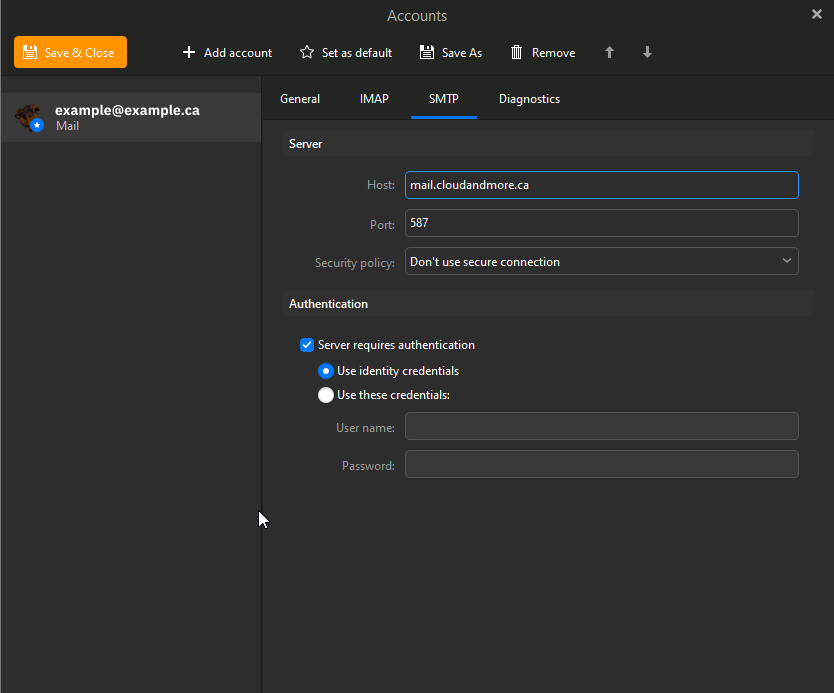
You will now potentially run into a screen that looks like this. Hit fix on both smtp and imap. This will allow eMClient to configure to the right ports. (IMAP Port 993 POP3 23)
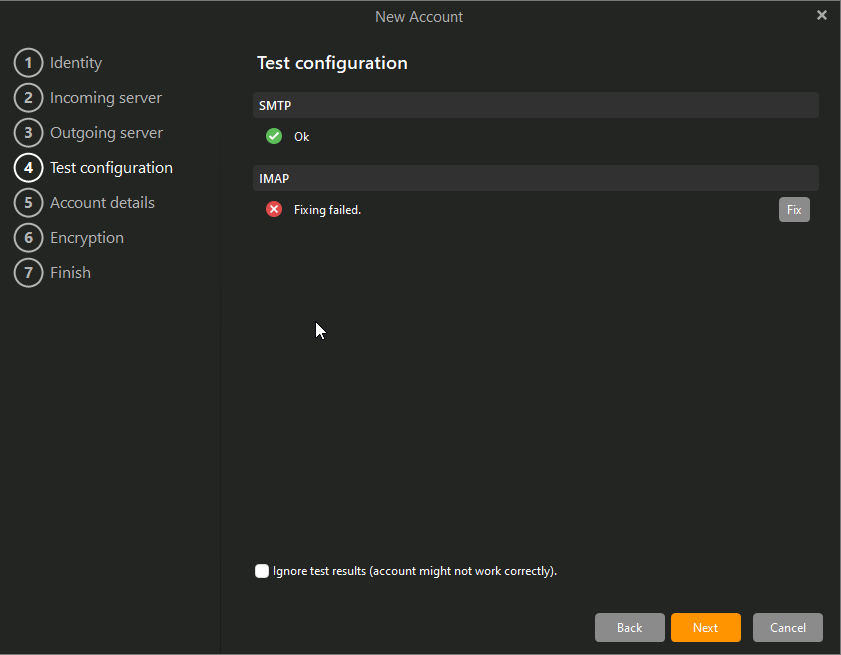
The image below will show this fix being applied, click yes to initiate the fix.
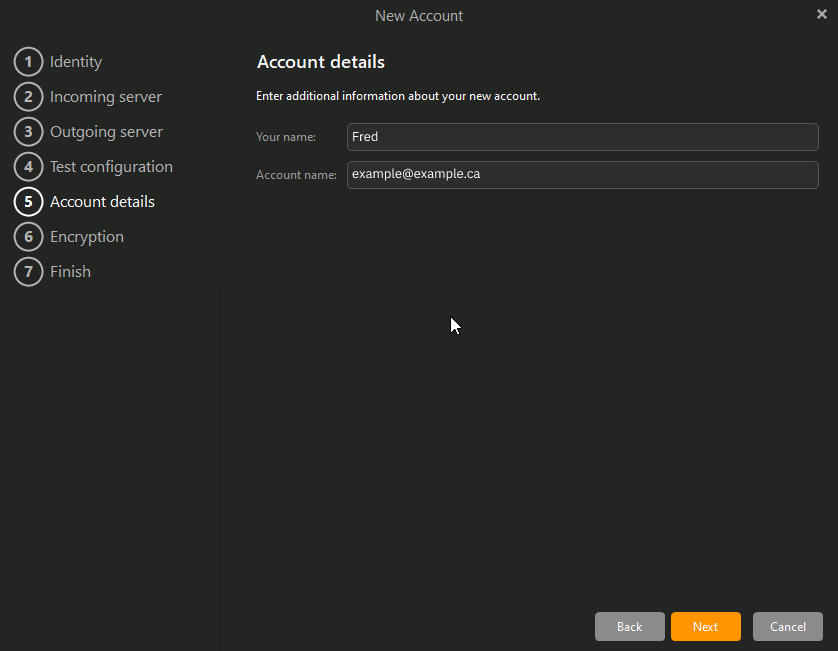
After you apply the fix, click on on the Account details.
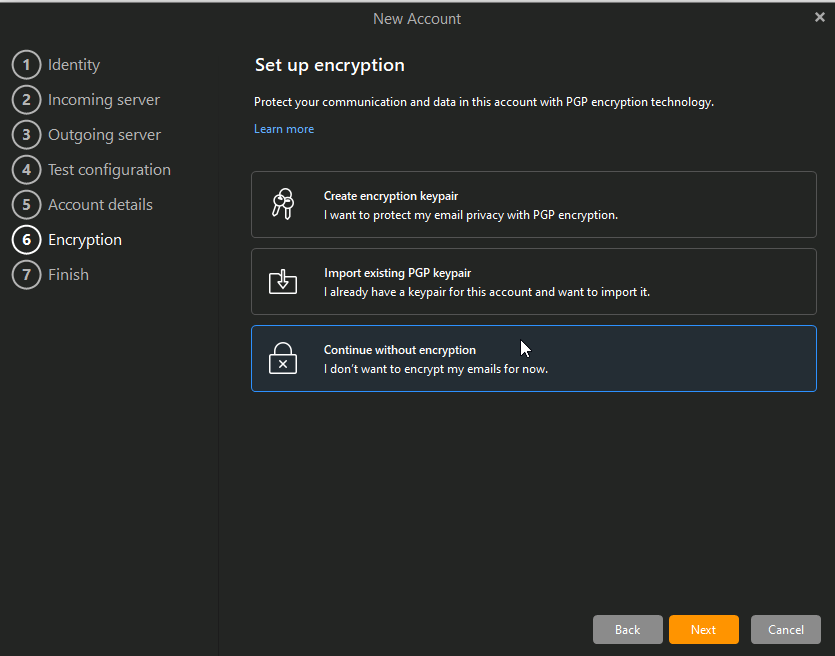
Click on Continue without encryption and then click next.
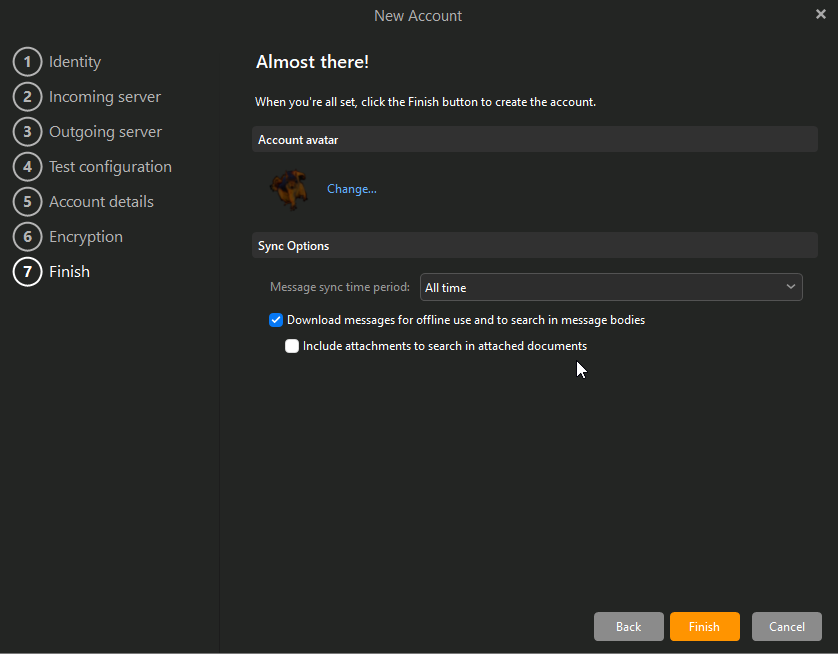
Click on finish.
Step 4:
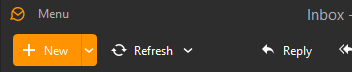
Now that you've set up your new account, refresh your inbox to see if your mail begins to populate. If it succeeds, then there is nothing left to do, if not, go to the menu at the top left of the window. Then Click on accounts.
Step 5:
Step 6:
Step 7:
Now, go to the Diagnostics menu and click on the Diagnose button. You may potentially get an error and cannot connect to the mail server, if that happens, quickly save and close the menu, your settings will save and you should be authenticated automatically, just double check by going back to the Diagnostics menu.
Step 8:
If everything is done correctly, you should receive a test message in your email, and eM Client will begin to sync with your Inbox.