
Vivaldi Email Configuration
As a prerequisite, you'll need to install Vivaldi on to your computer. This tutorial is entirely optional if you prefer not to use the Vivaldi Browser.
Step 1:
Install Vivaldi at https://vivaldi.com/ and select the correct OS that you're using.
Step 2:
Once Vivaldi installs, you'll be given three options, Essentials, Classic and Fully Loaded. Select Fully Loaded to enable mail client on the Browser.
Step 3:
If you did not enable Fully Loaded, you can still enable the mail client by going to the cog on the bottom left of the window, then navigate to the mail icon and toggle the box and close the window.

Step 4:
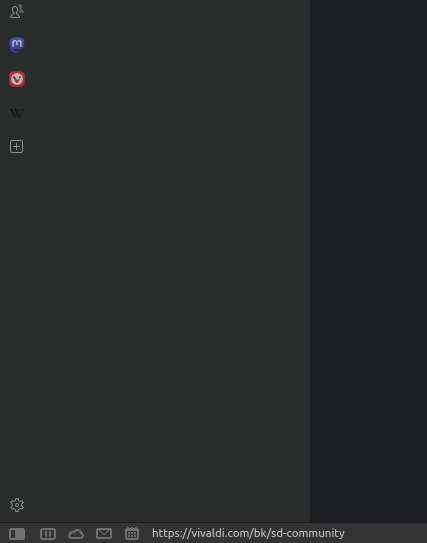
Now a mail icon should appear on the left side of the window, click on it, then click on Add Mail Account.

Step 5:
The Add First Account will pop up, because we want to be able to communicate with the Hugomail Mail server, we're going do the Manual Setup option, click on that to continue.

Step 6:
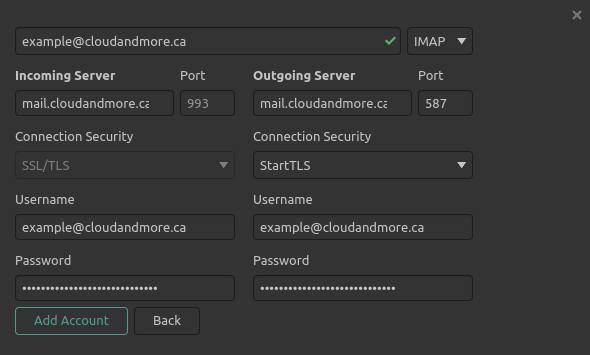
See the image below as reference to how everything should look when you fill in the information.
Step 7: Now you can add a signature and your name that people will see when you send them an email. Keep the sync options as is, once you're ready click next.
 \
\Step 8:
As soon as you click on continue, you'll get a ton of notifications as your inbox starts to populate with all of your emails, click and Vivaldi Mail to finish the setup. Congratulations, you've now successfully configured the Vivaldi email client.

Is everything configured right? If not, try double checking these:
-
Make sure your email and password was properly typed in the required fields
-
Make sure Incoming IMAP is set to 993
-
Make sure Outgoing SMTP port is set to 587
-
Make sure the security type on the outgoing server type is STARTTLS