Configuring Outlook 365 Individual Calendar
Prerequisite:
You will need to install the CalDAVsynchronizer, a link will be provided in the article as you follow the steps to configure everything properly.
Step 1:
Go to this link (https://caldavsynchronizer.org/download-2/) and download thecurrent zipversion file.provided.
Step 2:
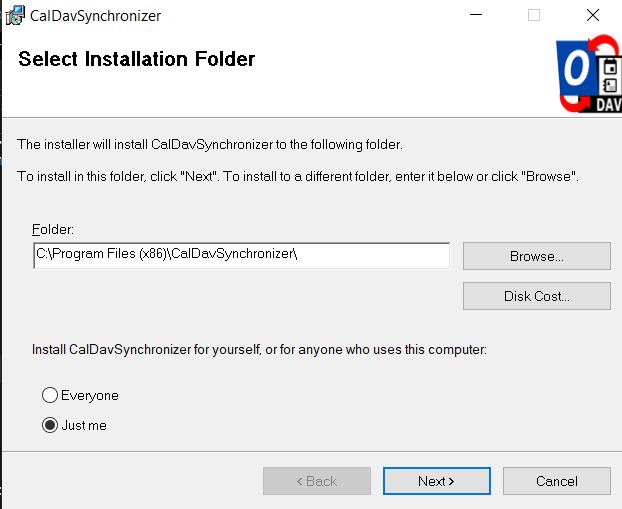
Open the zip file and click on the setup file. An installation wizard will appear, click next. At the select installation folder screen, you'll see below the installation path two options, keep it on Just me and hit next.
Step 3:
Once the installation is complete, proceed to either restart or start Outlook, it should automatically be added to Outlook while it opens up. (Note: The free version of Outlook isand Browser version are not supported, you'll need the Microsoft 365 version of Outlook for addon to install)
Step 4: You
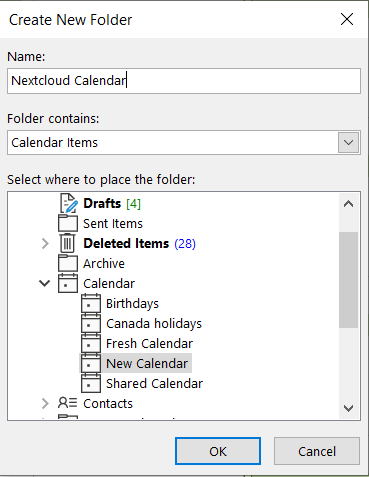
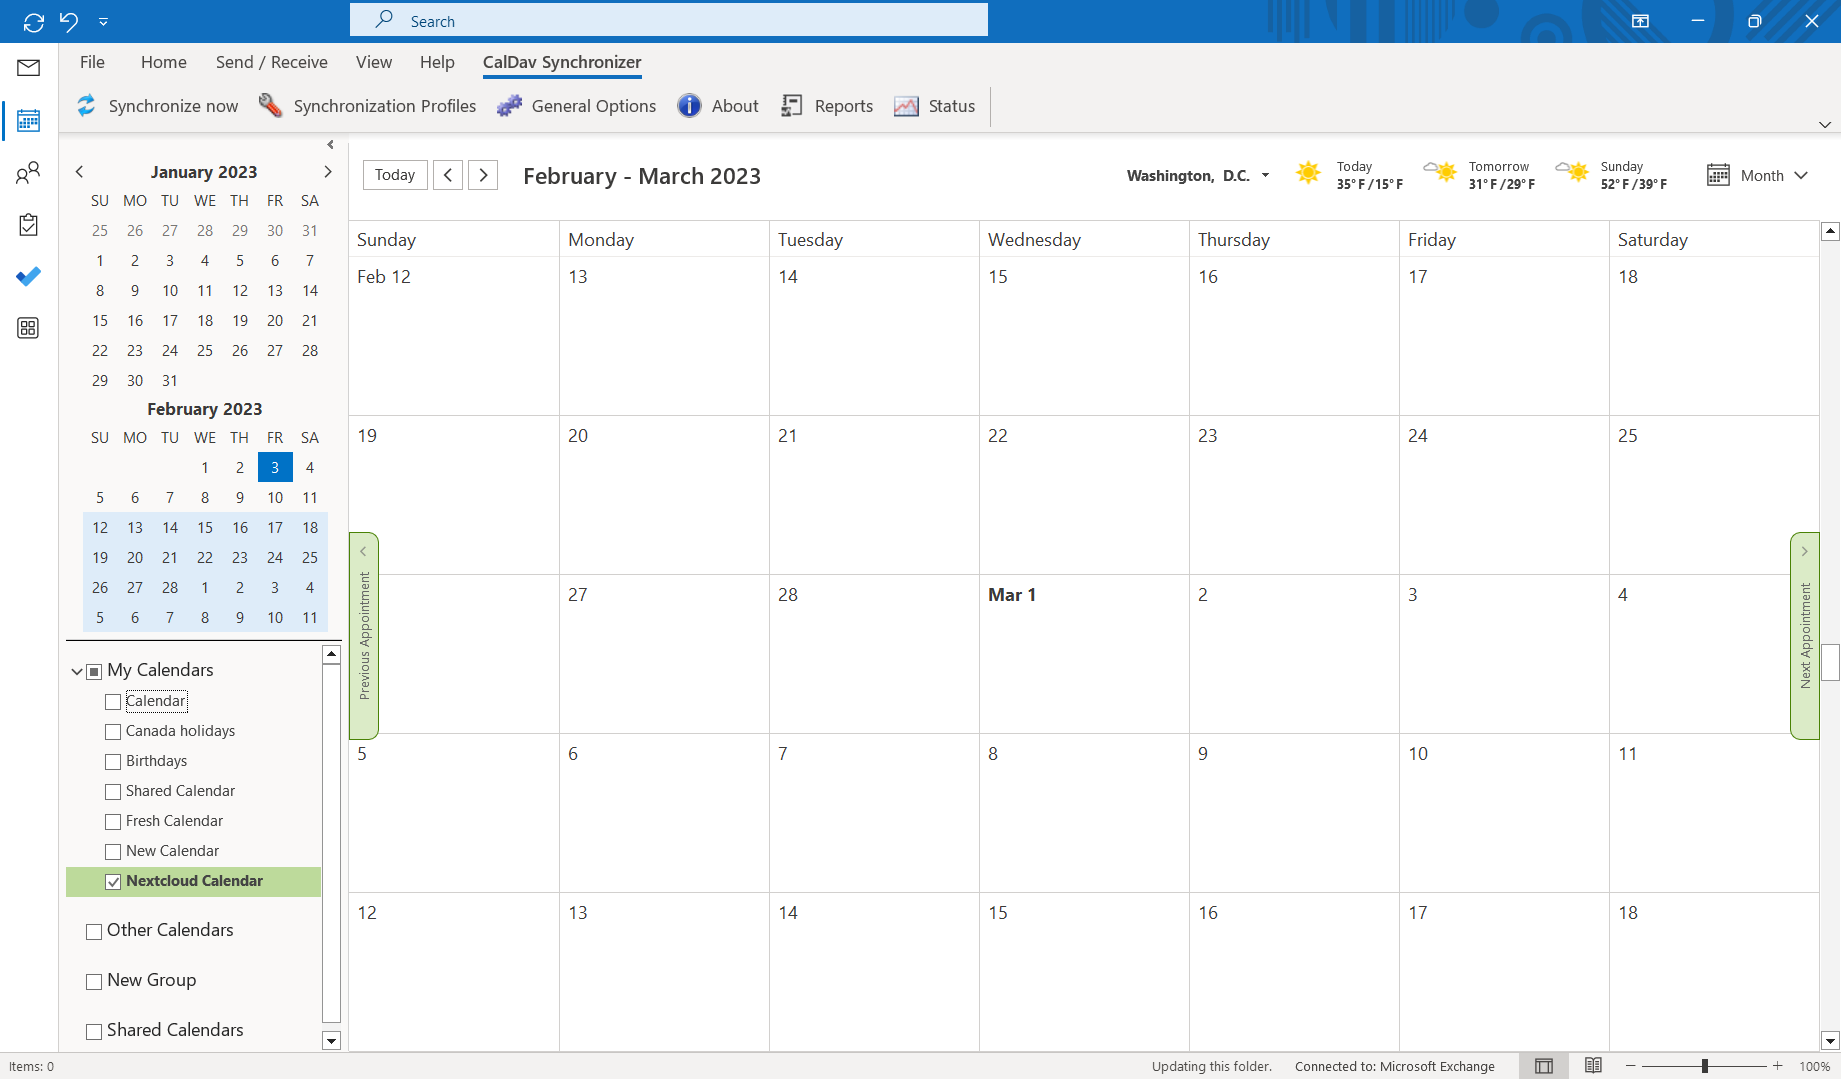
After opening Outlook, the first thing we'll do is make a new Calendar Folder, to do this, right click on on of the pre-made Calendars, a menu will appear, you'll want to click on New Calendar...
Now, select the Calendar Folder, name your new Calendar then click ok.
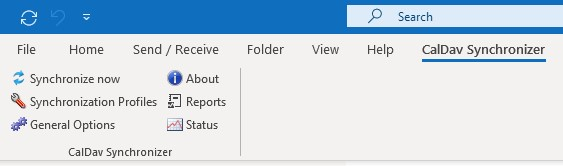
Step 5:
Next click on Synchronization Profiles.
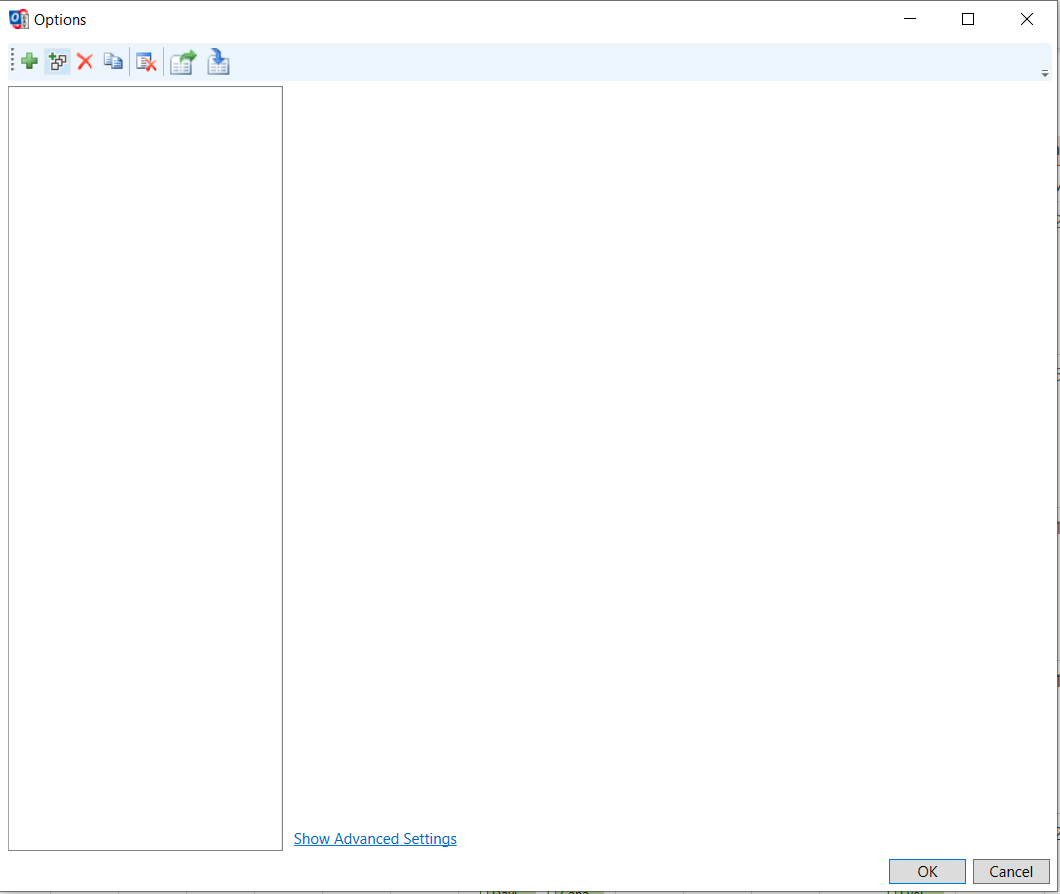
Step 6:
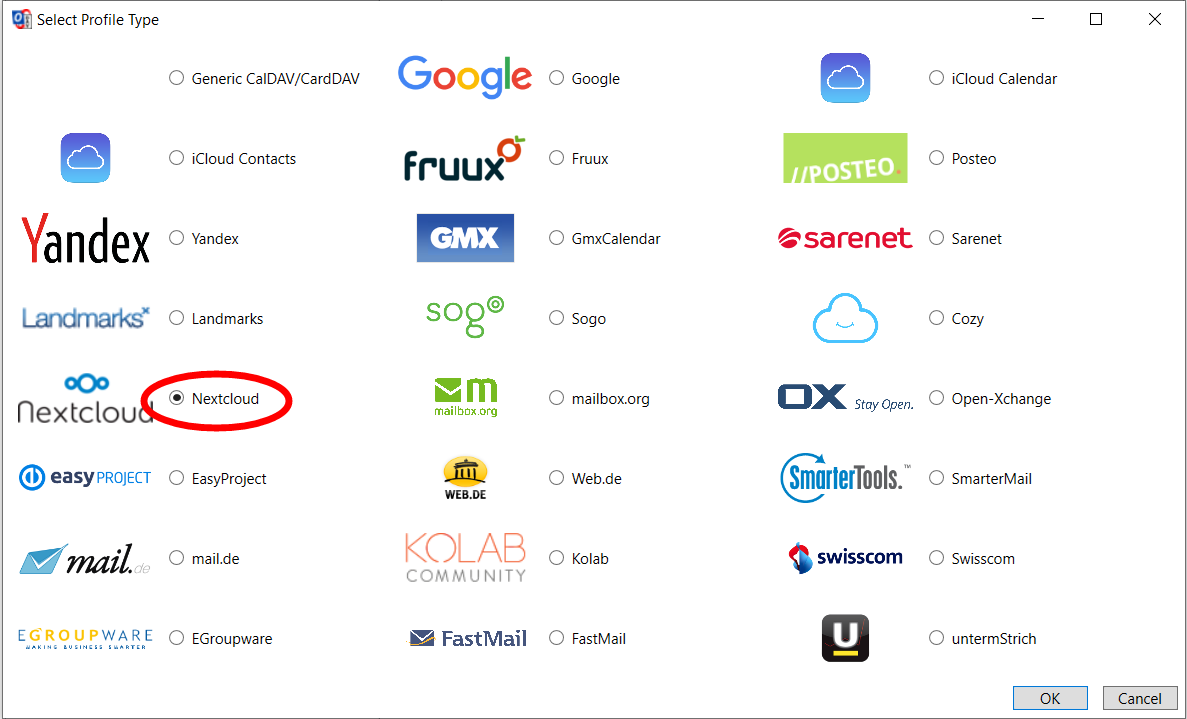
A new window will open called Options, click on the green + symbol and another window will open to select the profile type. Click on the box next to Generic CalDAV/CardDAVNextcloud and click OK at the bottom of the window.
Note: Refer to our article on how use the add multiple calendar options for more info.
Step 7:
Now you have the ability to name and configure the rest of your profiles settings. In the DAV URL bar, paste your CalDAV Address into the bar, then put in your Nextcloud credentials.
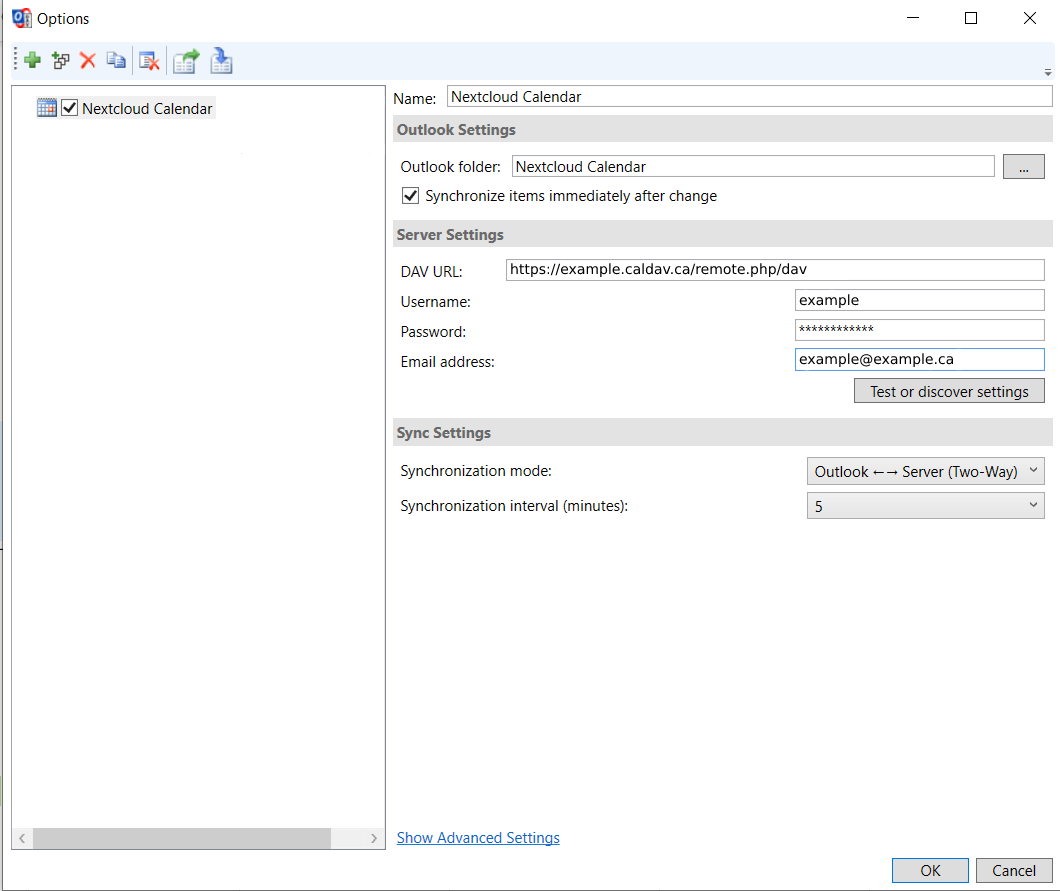
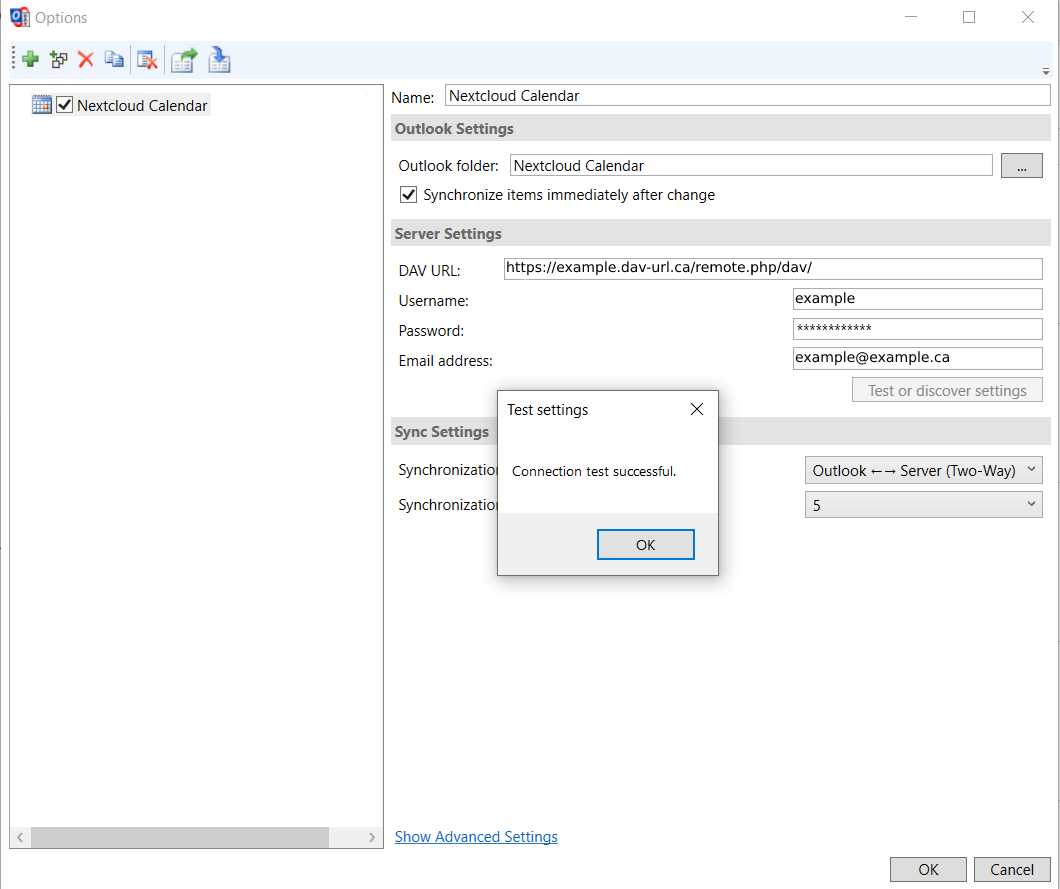
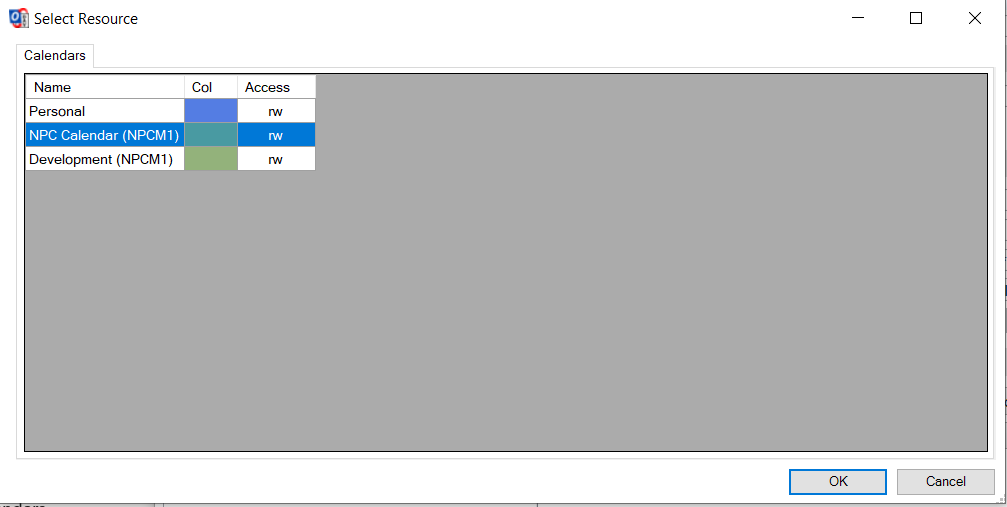
Step 8: Now you'll be bale to put in your CalDAV and Nextcloud info. After you're done, click on the Test or Discover Settings button and wait a few seconds, if everything is correct, your connection test should succeed and a window with all of your calendars should appear, click on the calendars you would like to have sync with Outlook.
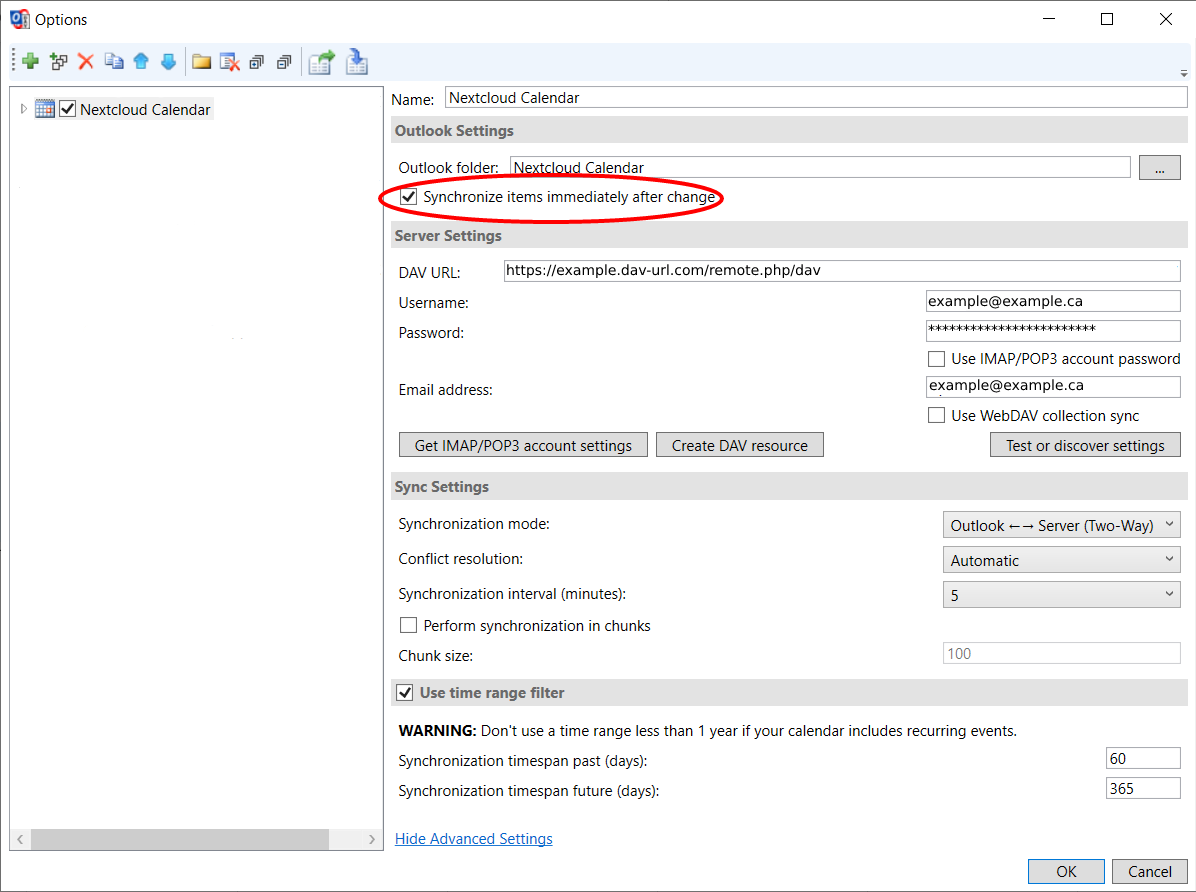
Note:Once Ifyou've youadded wantyour calendar into your new Calendar folder, click on Show Advanced Settings at the bottom of the window, a whole bunch of hidden settings will appear. Make sure that the Synchronize items immediately after change is checked.
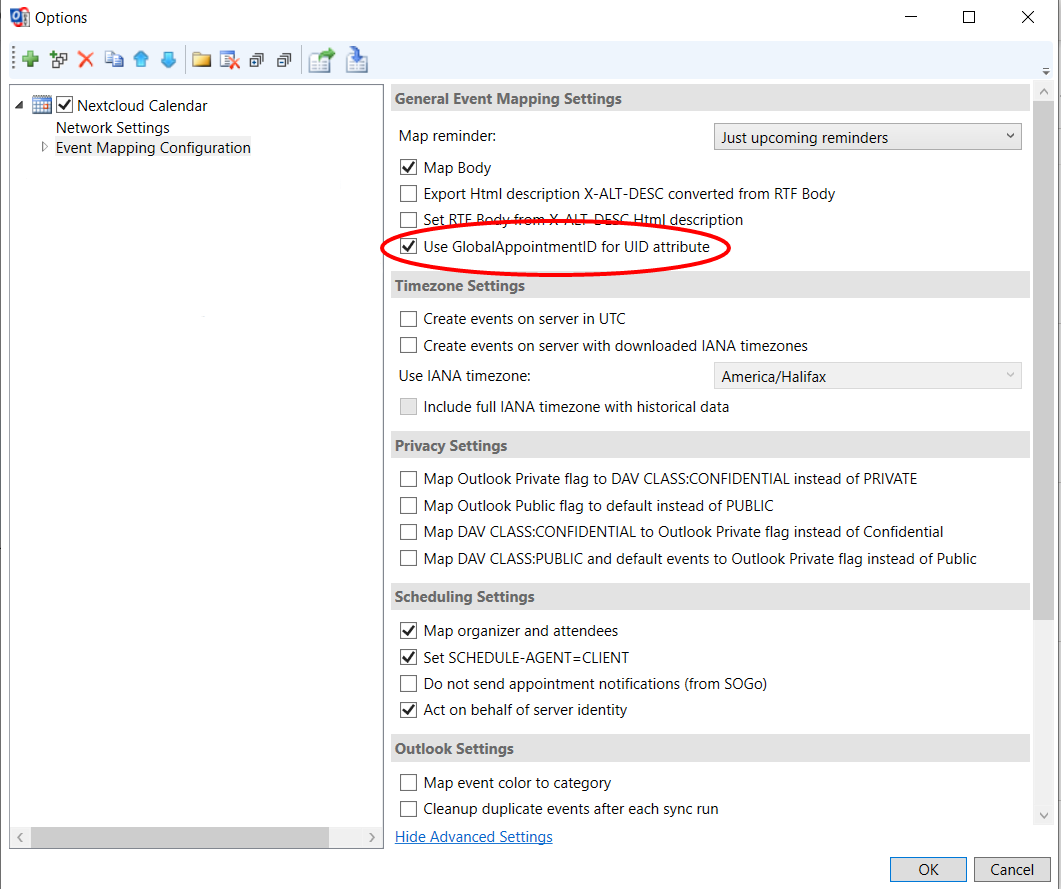
Now, click on the little arrow next to haveyour accesscalendar profile, and in the drop down, go to multiplethe calendarsEvent onMapping Outlook,Configuration. The only setting you'll need to referenable back to Step 6 and add each individual calendar fromis the SelectUse ResourceGlobalAppointmentID screenfor below,UID orattribute. referClick toOK ourwhen articleyou're on How to Add Multiple Calendars in Outlook 365.done.
Step 9:
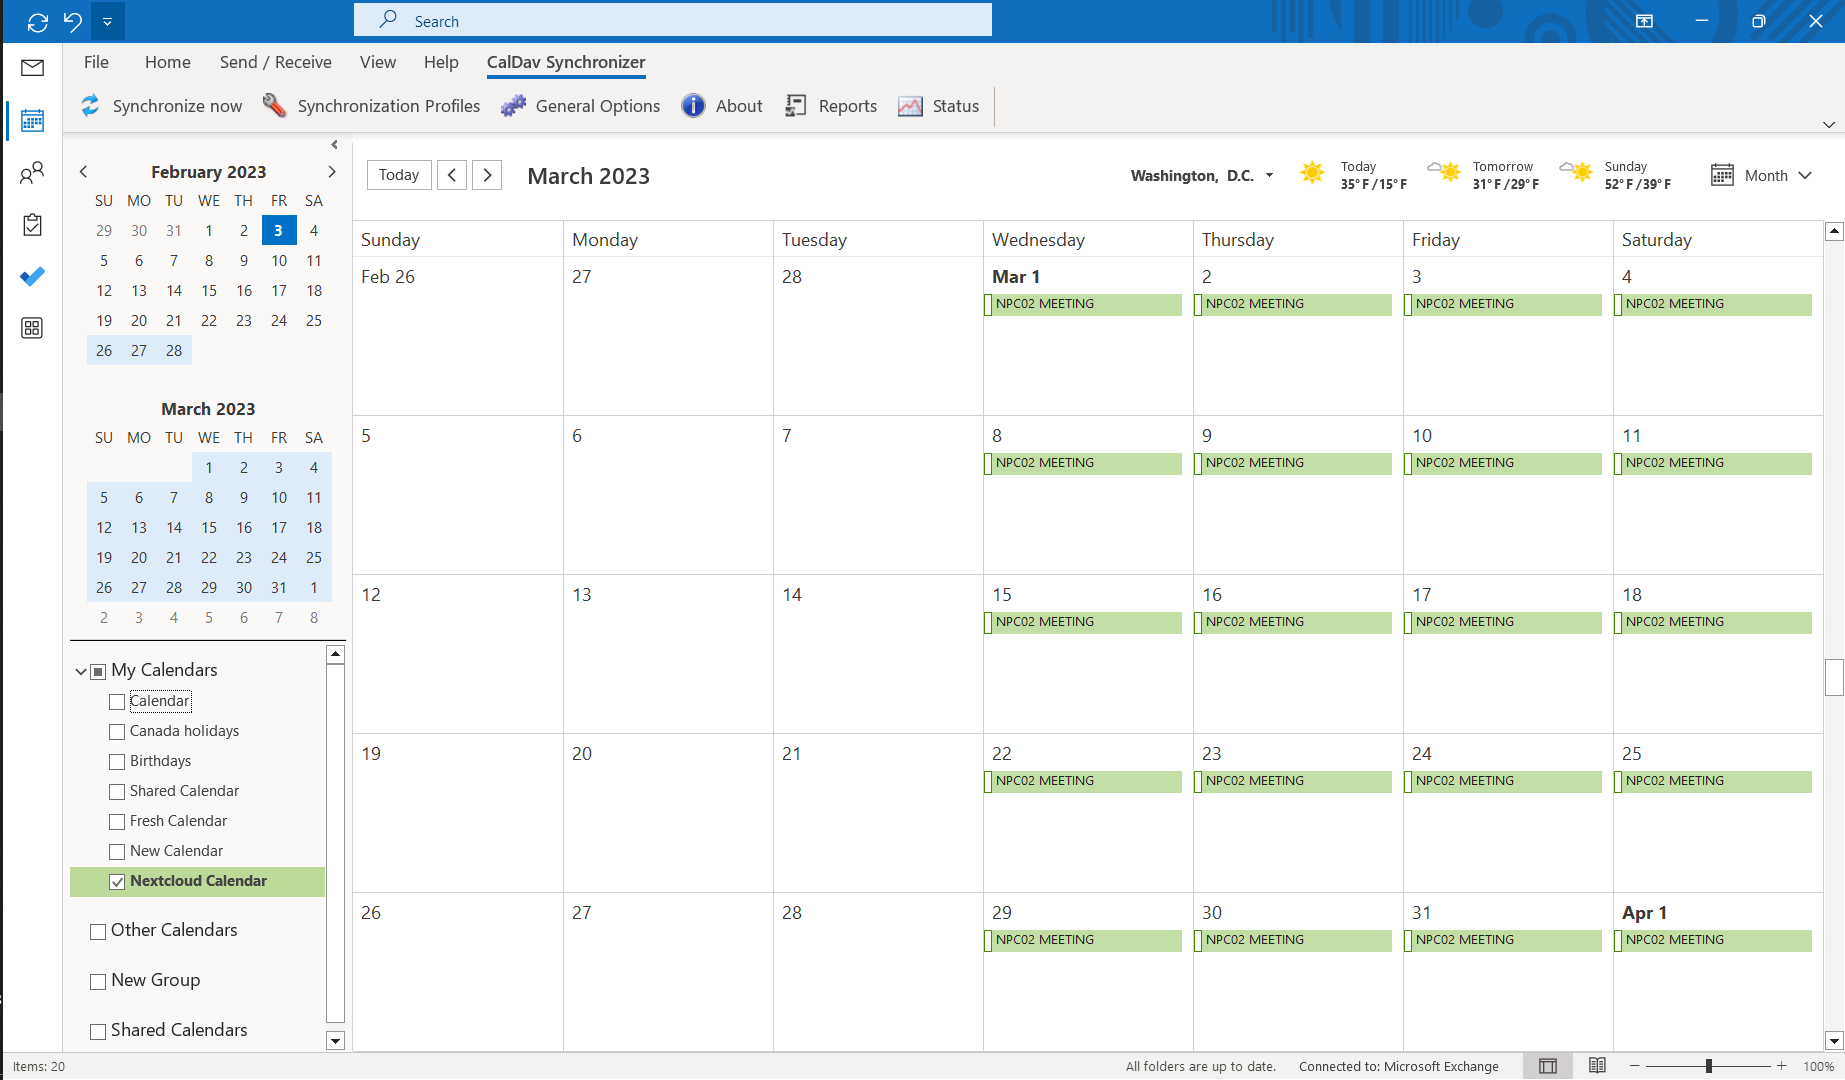
After you close the configuration window, click on the Synchronize Now button in Outlook and wait a few second, your calendar should now sync with your Nextcloud Calendar, Congratulations!