
Guide
Prerequisite:
You will need to install the CalDAVsynchronizer, a link will be provided in the article as you follow the steps to configure everything properly.
Step 1:
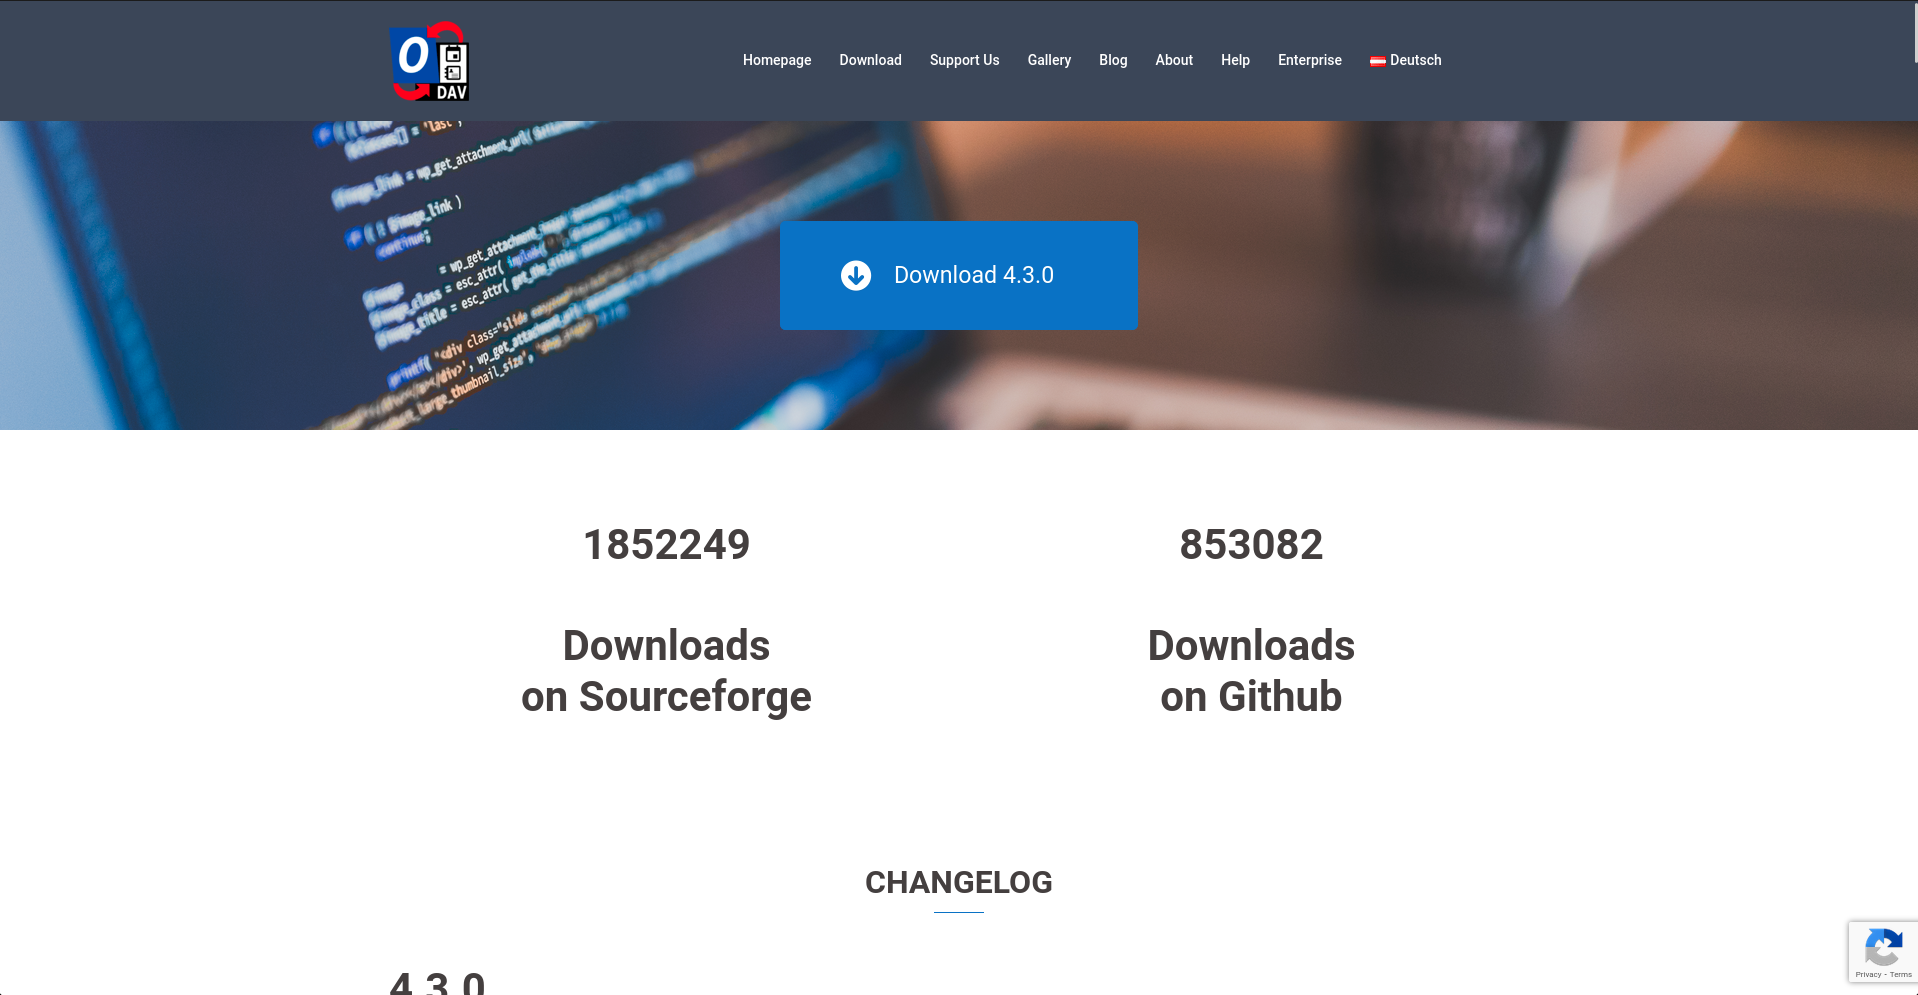
Go to this link (https://caldavsynchronizer.org/download-2/) and download the zip file.
Step 2:
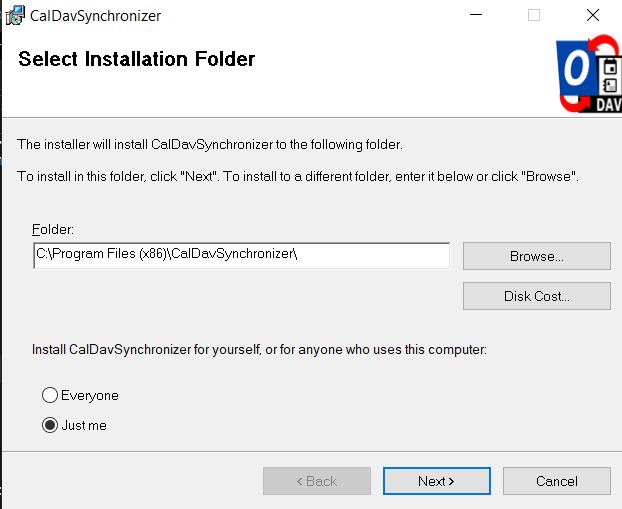
Open the zip file and click on the setup file. An installation wizard will appear, click next. At the select installation folder screen, you'll see below the installation path two options, keep it on Just me and hit next.
Step 3:
Once the installation is complete, proceed to either restart or start Outlook, it should automatically be added to Outlook while it opens up. (Note: The free version of Outlook is not supported, you'll need the Microsoft 365 version of Outlook for addon to install)
Step 4:
You should see a new tab on Outlook that says CalDAV Synchronizer (See Image Below), the next thing you'll want to do is click on that.
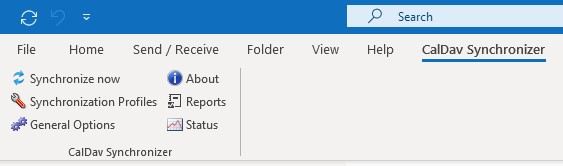
Step 5:
Next click on Synchronization Profiles.