
Configure Outlook 365 Multiple Calendars
In this article, you will be shown how to add Multiple Calendars to Outlook using the CalDAVSynchronizer addon.
Prerequisite:
You will need to install the CalDAVsynchronizer, a link will be provided in the article as you follow the steps to configure everything properly. If you already followed the previous article on how to install CalDAVSynchronizer addon, skip to Step 5 to begin adding Calendars.
Step 1:
Go to this link (https://caldavsynchronizer.org/download-2/) and download themost ziprecent file.version.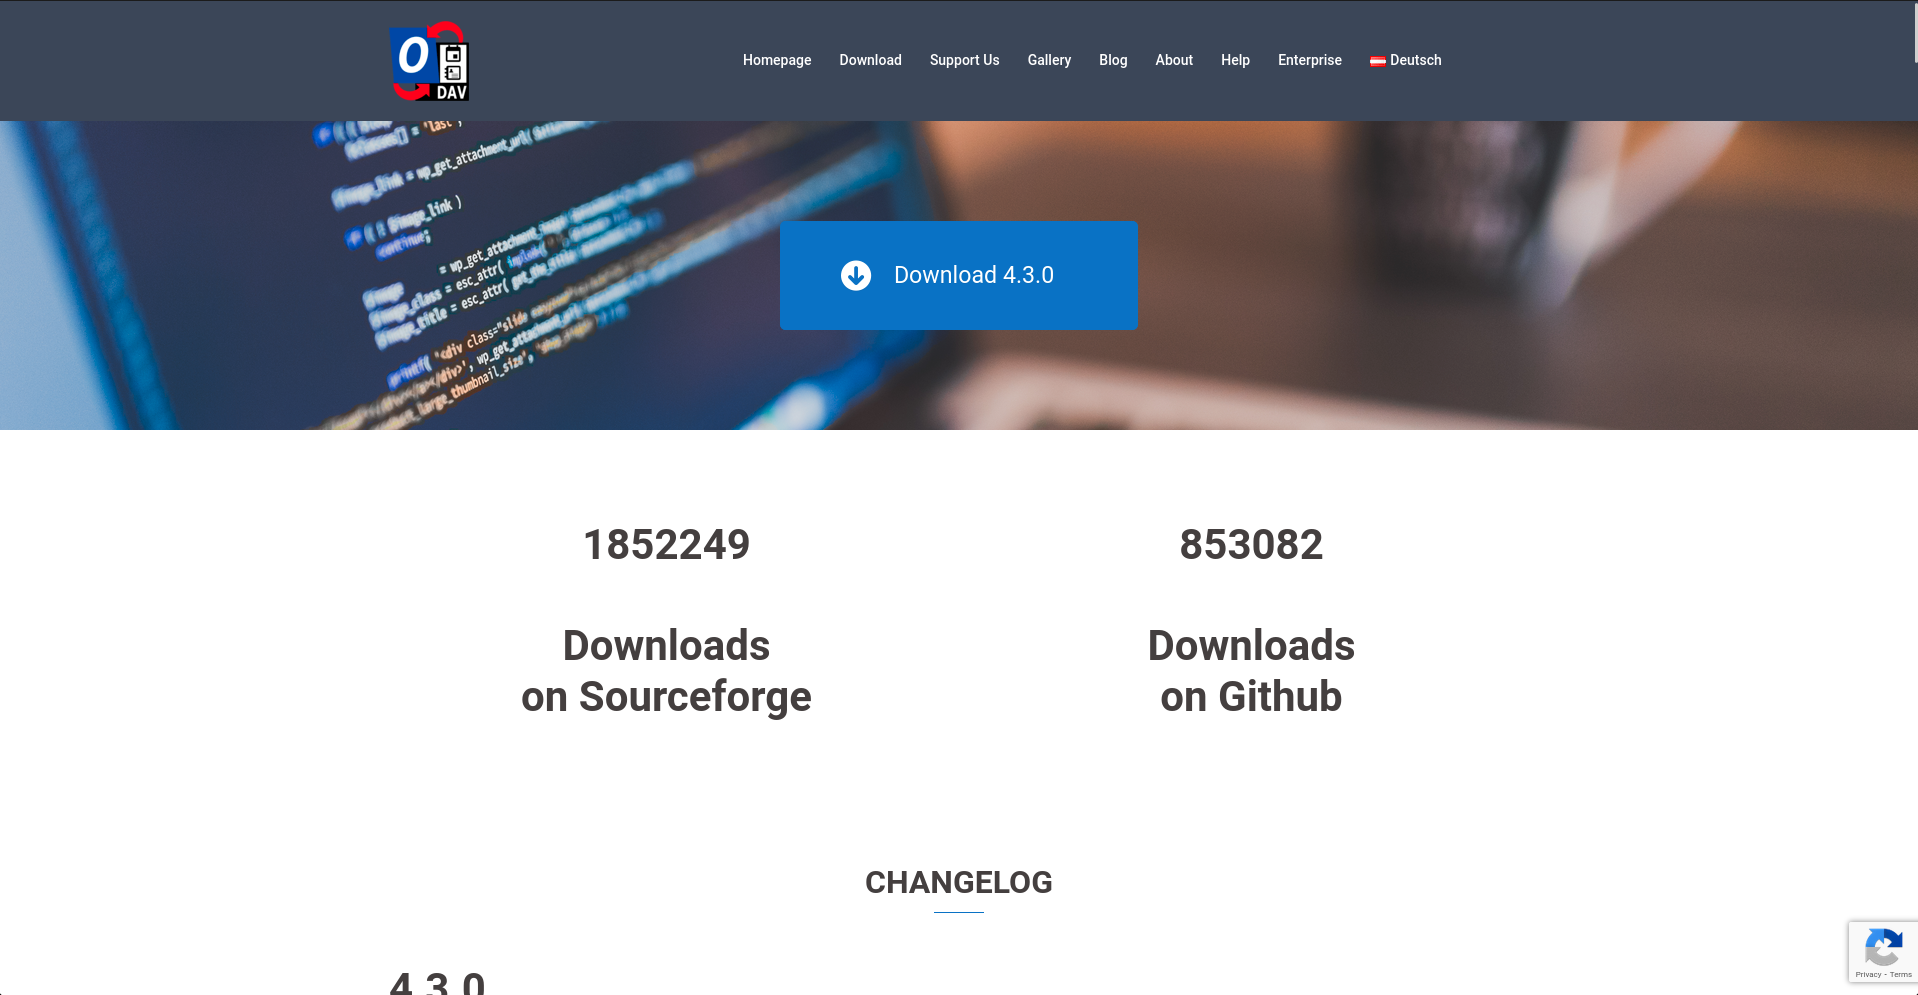
Step 2:
Open the zip file and click on the setup file. An installation wizard will appear, click next. At the select installation folder screen, you'll see below the installation path two options, keep it on Just me and hit next.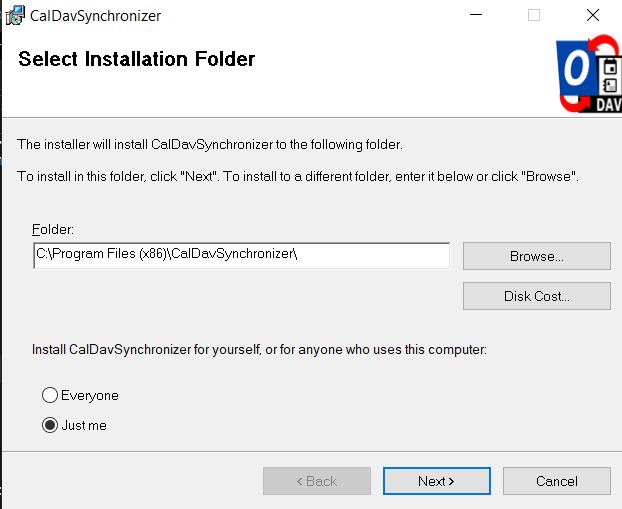
Step 3:
Once the installation is complete, proceed to either restart or start Outlook, it should automatically be added to Outlook while it opens up. (Note: The free version of Outlook is not supported, you'll need the Microsoft 365 version of Outlook for addon to install)
Step 4:
First, we'll want to make new Calendars in Outlook to sync our profiles to. To do this, right clock
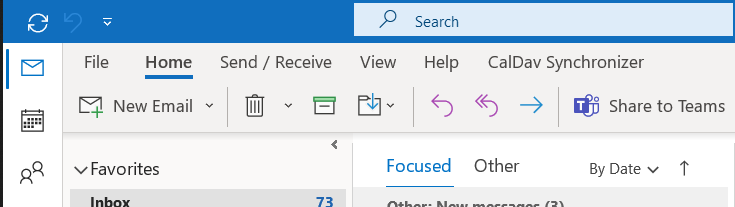
You should see a new tab on Outlook that says CalDAV Synchronizer (See Image Below), the next thing you'll want to do is click on that.
Step 5:
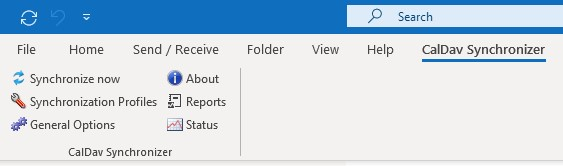
Next click on Synchronization Profiles.
Step 6:
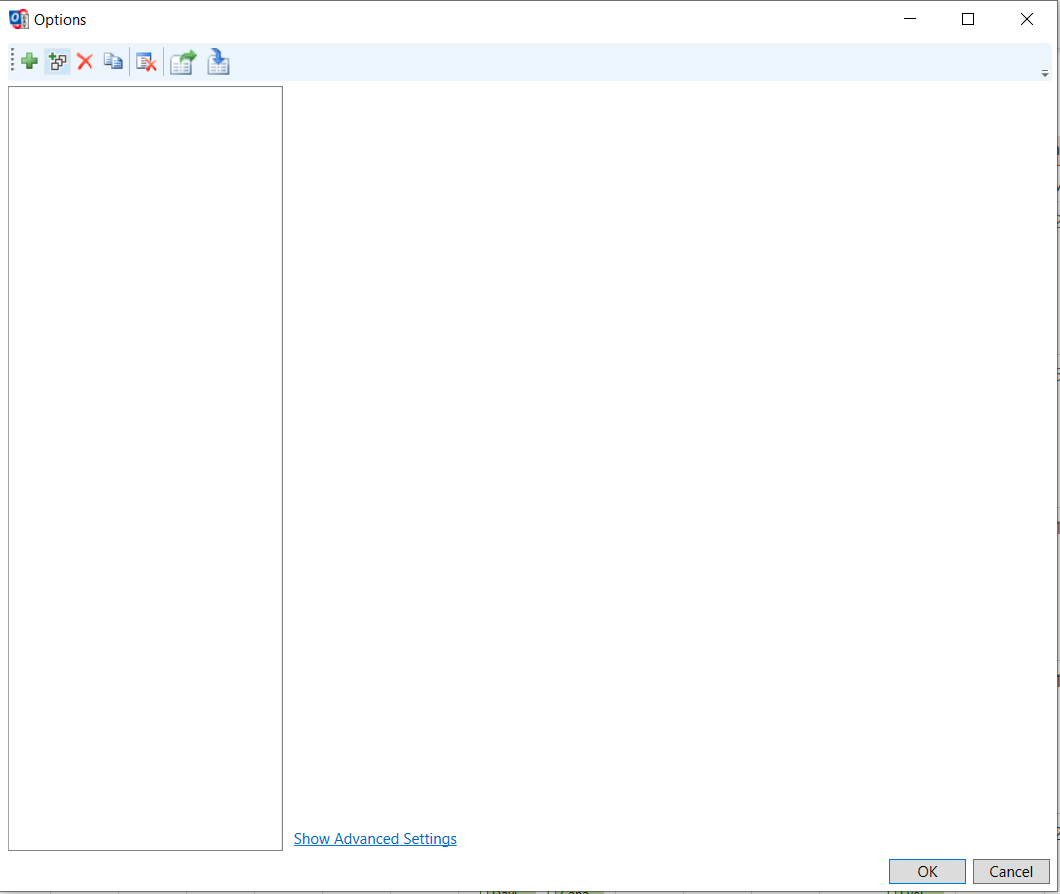
A new window will open called Options, click on the icon with the 3 windows and the green plus and another window will open to select the profile type. Click on the box next to Generic CalDAV/CardDAVNextcloud and click OK at the bottom of the window.

Step 7:
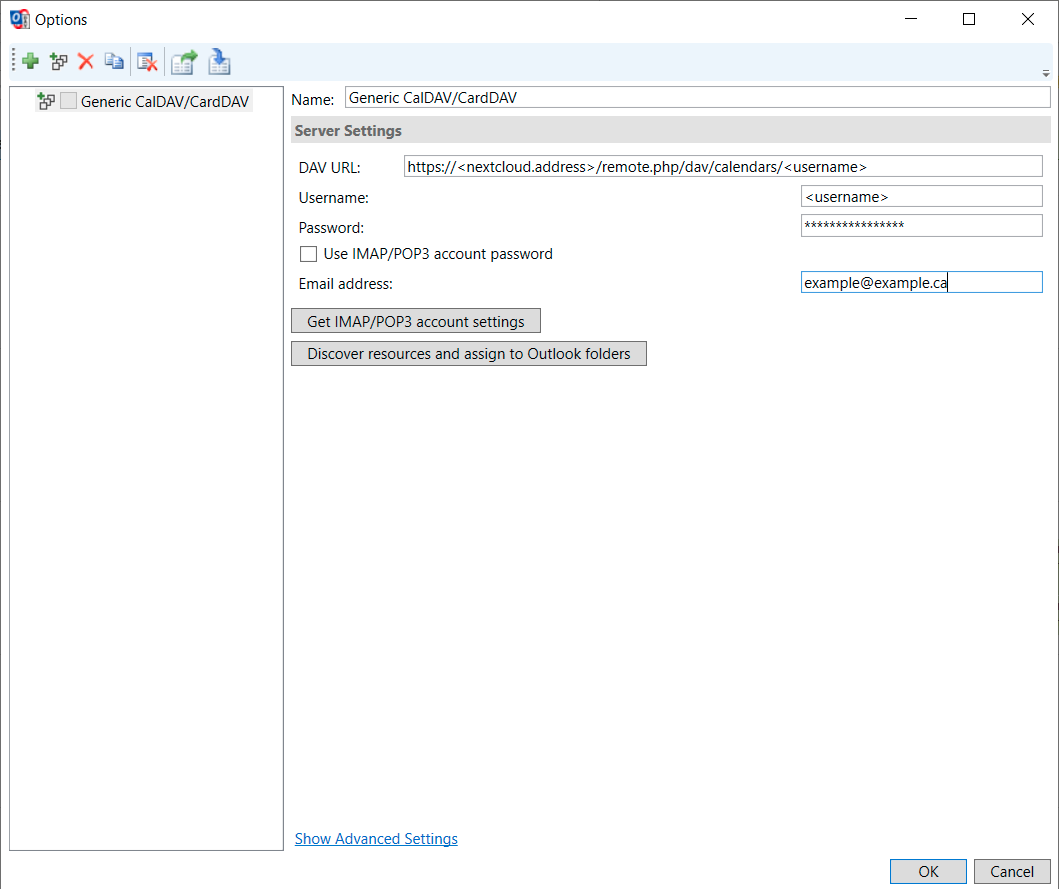
Fill in your Nextcloud Username, password and CalDAV Address. Once you've done that, click on Discover resources and assign to Outlook folders.
Step 8:
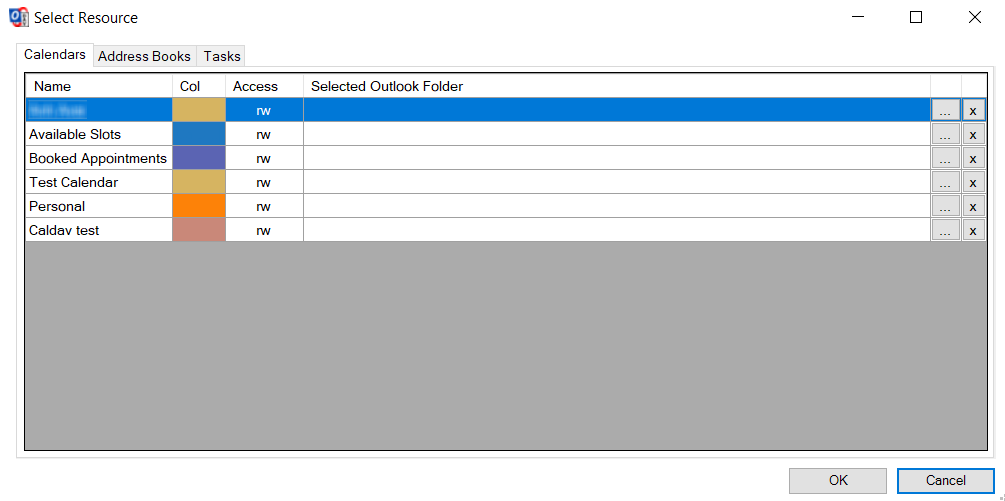
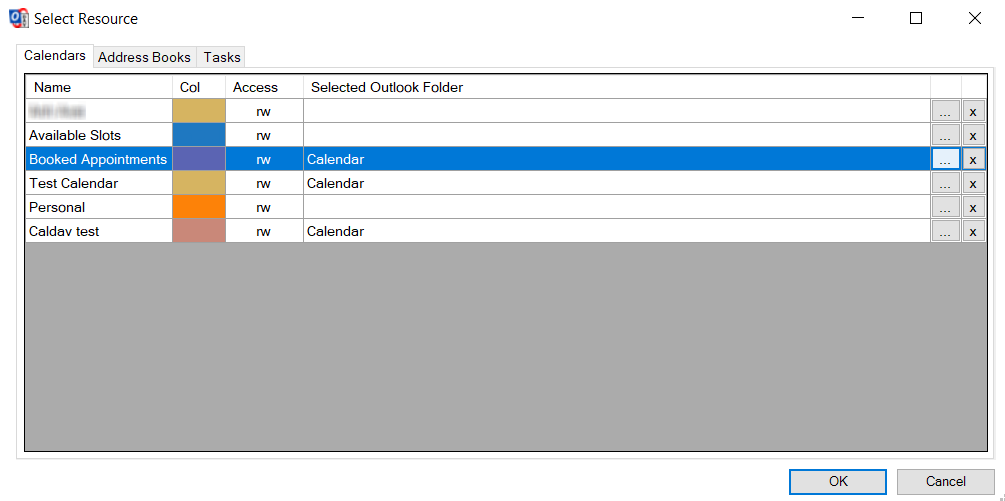
You should see all of your Calendars from Nextcloud, we're now going to add a few to our Calendar. Click on the 3 dots on the right side of the window.
Step 9:
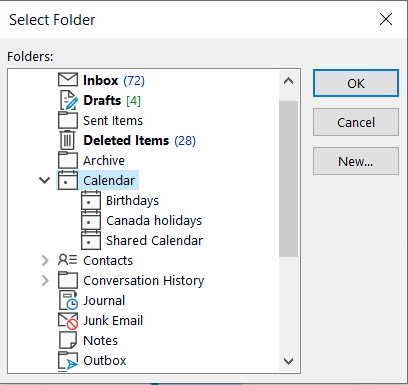
Select the Calendar Folder to add it, then click OK. Now return back to step 8 and repeat this process with whichever other Calendar you would like to add.
Step 10:
Once you've added all of the Calendars you want to add, click OK. You'll see that in the Options window, all of the Calendars we've added will appear in the accounts tab, close out of this window click Synchronize now, now you can view and use your Calendars from Nextcloud in Outlook 365.
If you are having any issues or have any questions, please contact support@cloudandmore.ca.