Configuration Guide (Macbook Calendar)
Step 1:
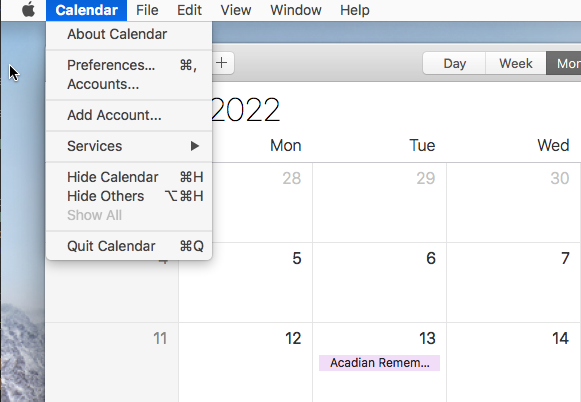
Open up the Calendar App and navigate to the top of your screen, click on Calendar and then click on preferences.
Step 2:
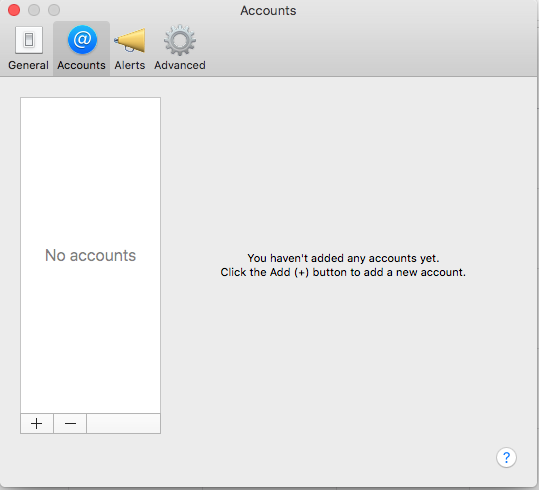
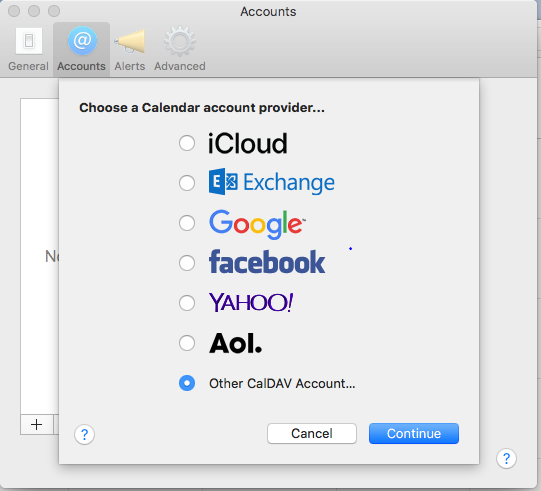
A new window will open, go to the accounts tab. It'll be blank right now but we're going to change that, click on the plus at the bottom of the blank window on the left, now select the Other CalDAV Account... and click continue.
Step 3:
Now you'll be able to add your CalDAV information. Select the Manual Account Type, then proceed to fill in your username and password for Nextcloud, as well as adding the CalDAV Address to Server Address bar, then click sign in.

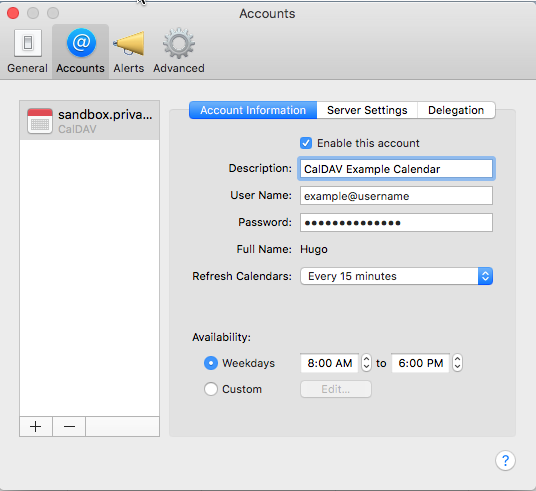
Step 4:
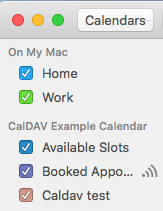
Now that you've filled everything in, your new account will appear in the accounts menu, close this window and go back to your Calendar.
Step 5:
Now wait a minute or so for your Calendar to sync up with the one in Nextcloud, once it does, you should see your Calendar begin to populate.