
Excalidraw: Tutorial for the Main Art Tools
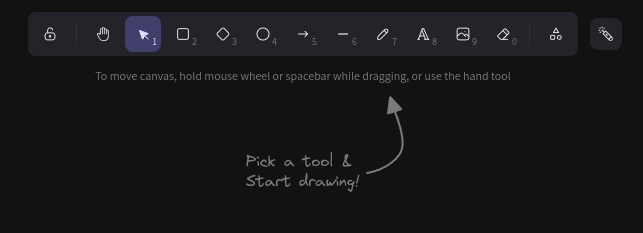
In Excalidraw in the top middle of that page you'll see 14 icons will go over.
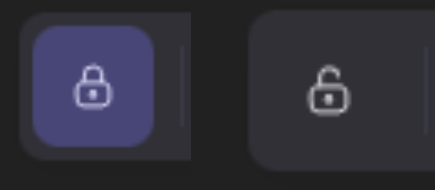
LOCKS: The furthest one to the left that lock when pressed will be closed lock and clicked again will be a open lock. When the lock is open when your using any tools it will set the you back to the icon of mouse with 1. The close lock will keep you on the icon you click and won't put you on mouse with 1.
HANDS: The hand that is second in the bar lets you grab the screen and move your camera. While your on the hand you'll be unable to to interact/select anything on the screen. The hand is only useful for moving around on the canvas. You can also switch to this mode by simply holding middle mouse button and once you let go if you go back to whatever icon you were on before.

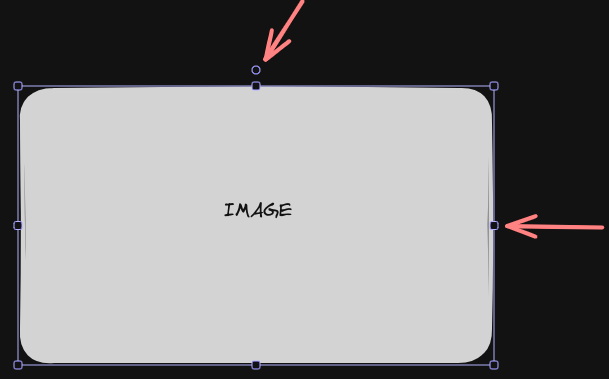
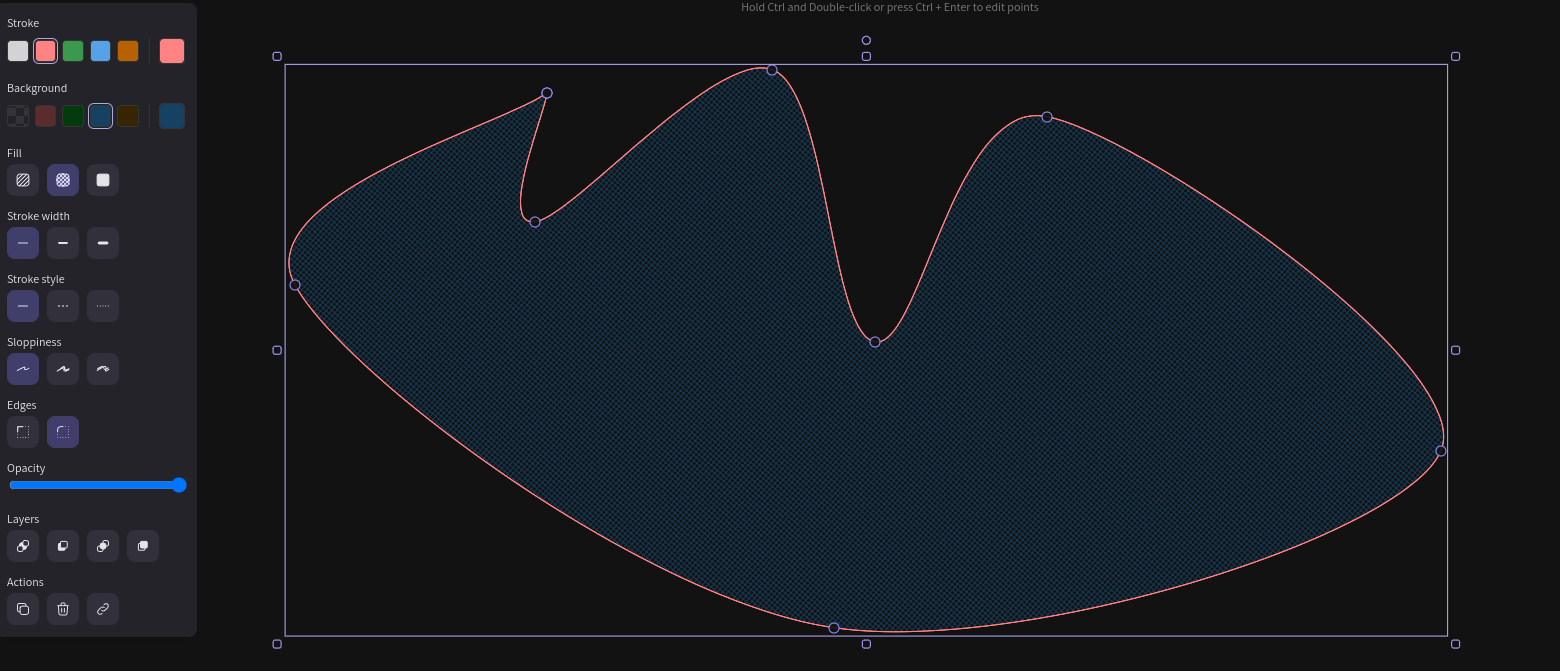
THE MOUSE: After the hand you'll see a mouse with one next to button right of it. With this you can select anything on the page that you have put down and you can enlarge it but clicking on in and you see 8 blue squares on it if you grab any sides of it you can stretch the image. There is also a blue circle on the top of middle top that you can rotate the image with. Also if you click on it and hold it you can move the image around or you can hold left click on empty part of the screen and you'll see blue box when you move anything in that box is all selected as one item which you can make bigger or delete.

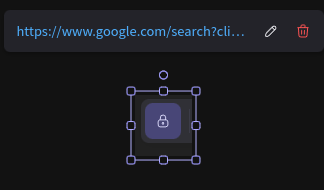
The last thing you can do with the mouse is when you click on a image a box on left the screen will appear with different kinds of buttons. The Opacity while lowering the bar or increasing bar will make the image more or less visible. Then the layers will set which image has priority appearing on the screen from left to right, the left layers is the least important while going the right mean the that image is more important and will not be overlap by image that matters less. Then in action the clicking the two boxes while duplicate the image, then clicking on trash can with delete the image and the link will let you put a URL on a image so if someone clicks on the image a link will appear above it.

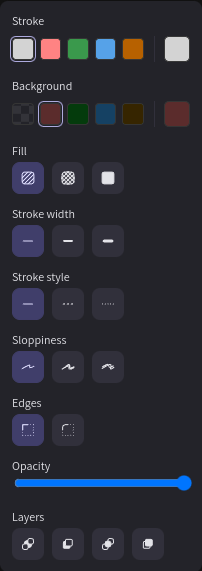
SQUARE: The icon square with 2 next to it when you click that you'll see a box will appear on the left that has Stroke, Background, Fill, Strokewidth, Stroke Style, Sloppiness, Edges, Opacity, Layers. Stoke will be the color of the outline of box, Background will fill the inside of the square with whatever color you want and the one to the left that looks like black and grey boxes that will make the background transparent. If you decided to have background color you can have fill for background of the box it can be lines or just filled in. Then we have stoke width that would make the thickness of the lines of the boarder of box. Stroke style would be the style of the line of the boarder of box which would be solid line or doted lines as the boarder. Sloppiness would make the writing more sloppy depending on which one to where one is perfect and other is sloppier. Edges would allow you make the corner of the box round or not.
You can create a square by clicking by left clicking and holding and moving the mouse and move you can create square to what size you want moving to left makes it wider, moving further down you get longer and moving diagonal make it wider and longer.
DIAMOND AND CIRCLE: The diamond with 3 next to it and circle with 4 next to it are the same as the square except circle doesn't have edge option.
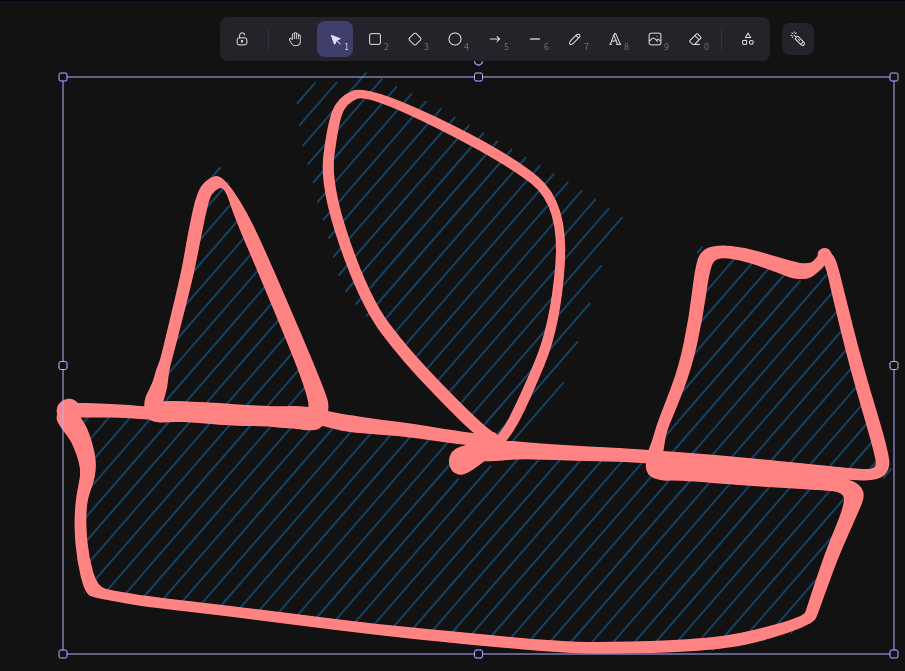
ARROW: The arrow with 5 next to it have same thing with square with few difference and that were there was new option of Arrow heads that let you decide what the back or front of the arrow like there was circle end and a normal head. Also when using the arrow if you just press left click once desired starting point. You can continue adding points by clicking where you need them, and when you're ready to complete the selection, press the Enter. Or you can hold left click then let go will just make one arrow.

LINE: The line with 6 next to it works the same way the arrows does except it has the edge option to which when you decide to do the option to where you do multiple endpoints and press enter to end it the edges will be circular instead of being blocky. Also if you connect the end point to the start point it'll end automatically and you'll have the whatever shape you made with it.
PENCIL: The pencil with 7 next to it can be used to draw whatever you want it works like how you would use pencil on sheet of paper and has some options from square like stroke, background, fill, stroke width. There is one special feature and that is if you end pencil point on the start point it will fill in whatever shapes you made with it in one stroke. But it does not fill in the well.
TEXT: The A with a 8 next to it can used to put text down on the screen and on it's left bar you can have 3 new choices for it specially font size, font family, text align.