How to:
To get started, you'll need to sign into the account you want to download your emails from. We have documentation regarding how to log into emclient here: https://help.gethugo.ca/books/em-client
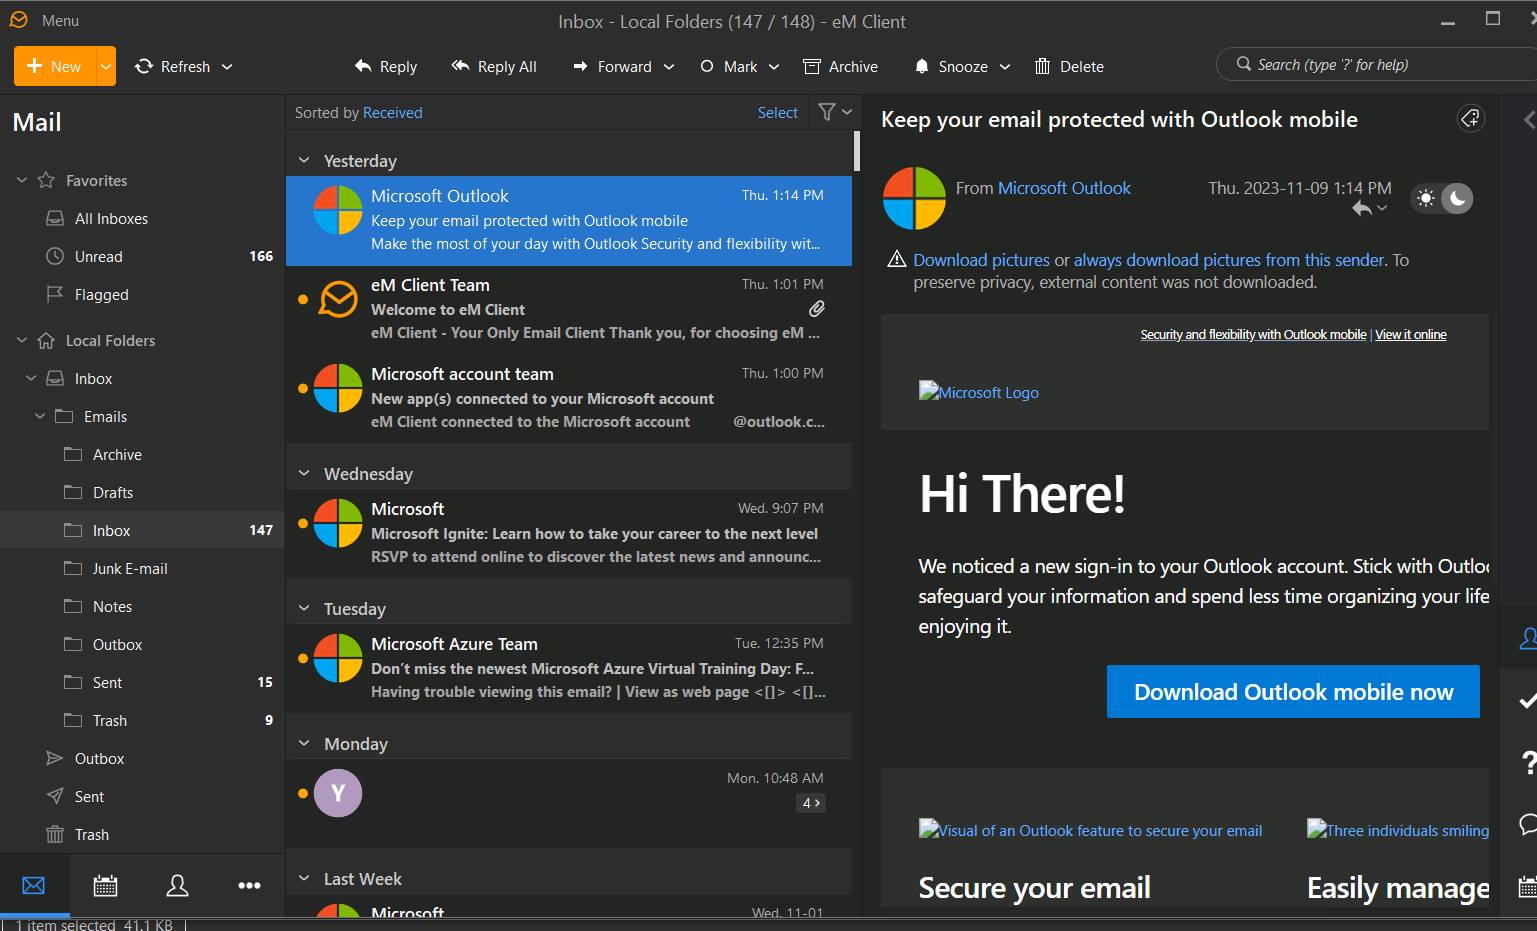
Once you're logged into your account, we can start.
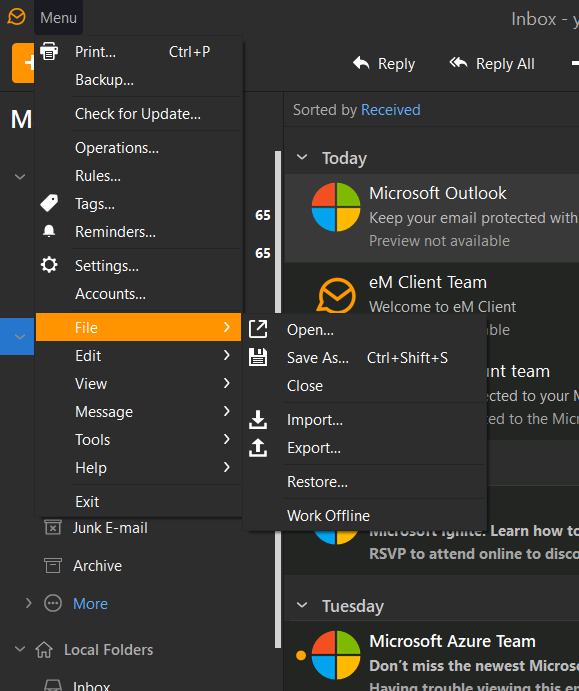
At the top left, select the Menu, hover over File, then select Export...
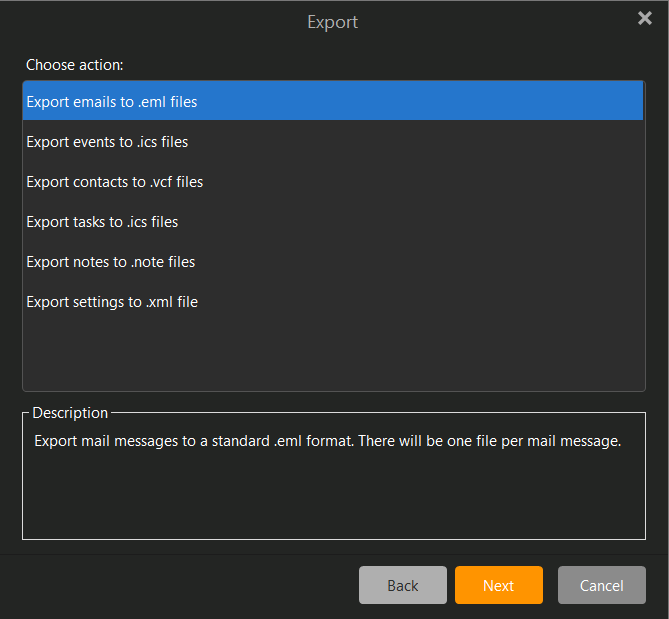
Select "Export emails to .eml
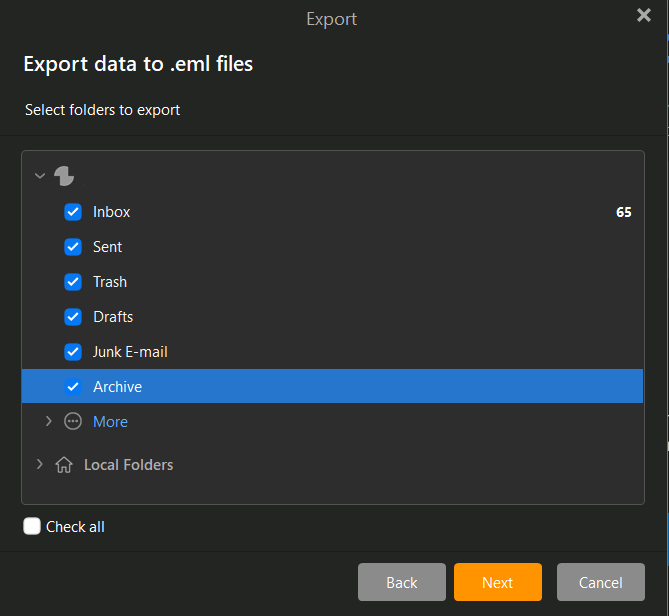
Now select which inboxes you want to export.
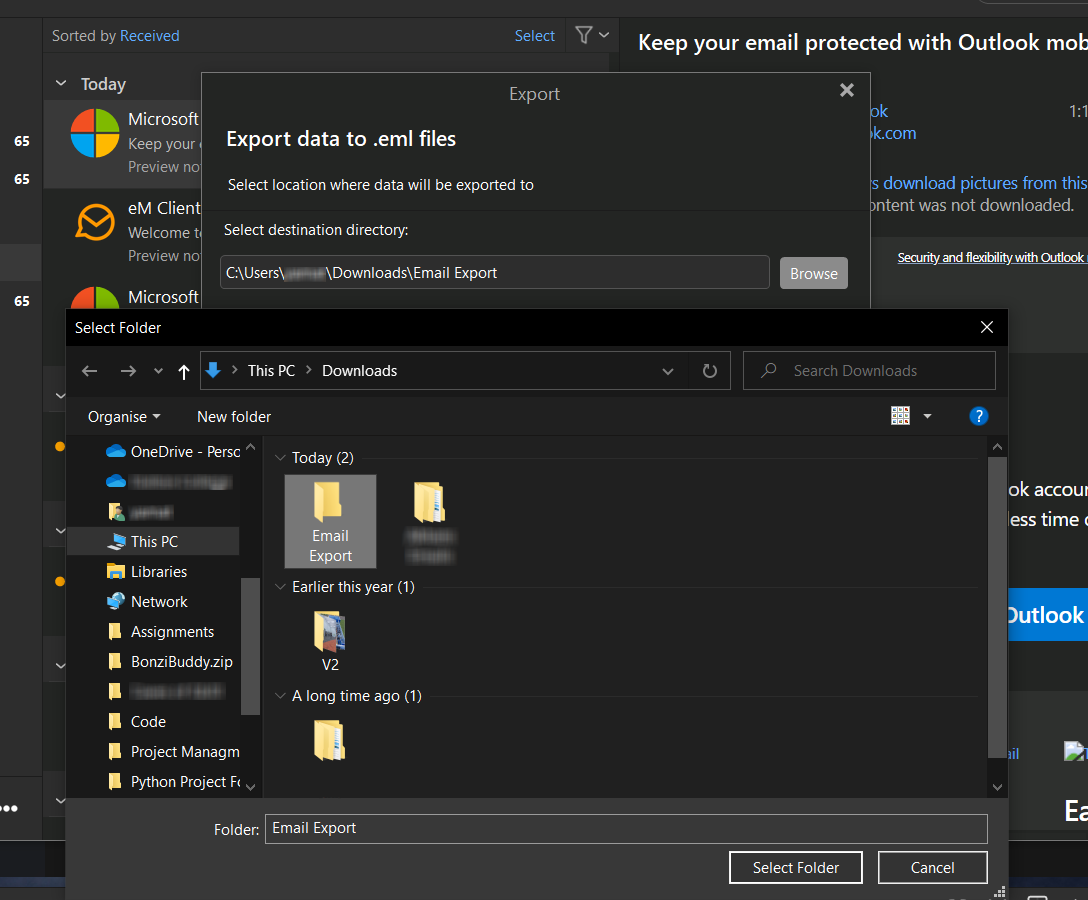
Now select a folder where you want to export your files to. Then hit finish at the bottom of the window to start the export.
Now that we've successfully exported your emails, now it's time to import them. For the purpose of this tutorial, we used the offline local files as an example, but this import feature will work for regular emails as well.
Go to the Menu in the top left, hover over File and select Import.

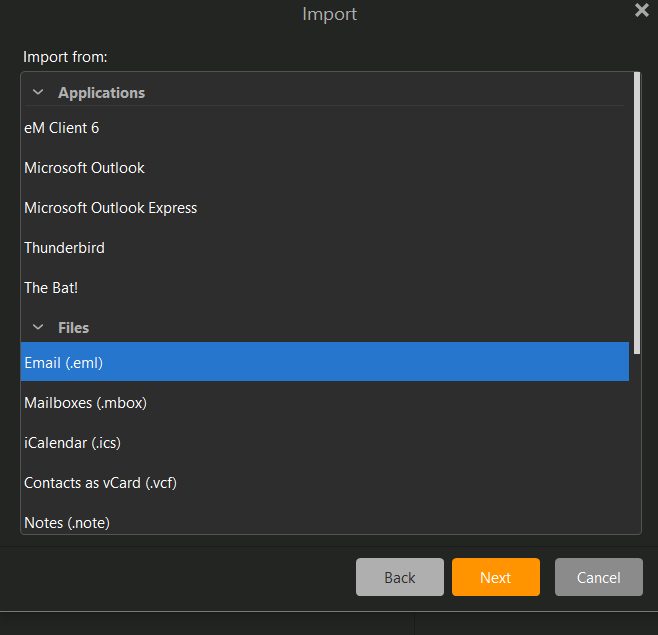
Since we exported the files in this tutorial as .eml, we'll be selecting the .eml option.
In the first search bar, select the file location of your exported emails.
Make sure the Include subfolder box is checked.
Now in the bottom search bar, select the folder to upload the emails to. In this example we just uploaded them to a new folder.

And now you have all your emails downloaded to your new email/local account.