Configure Android Contacts
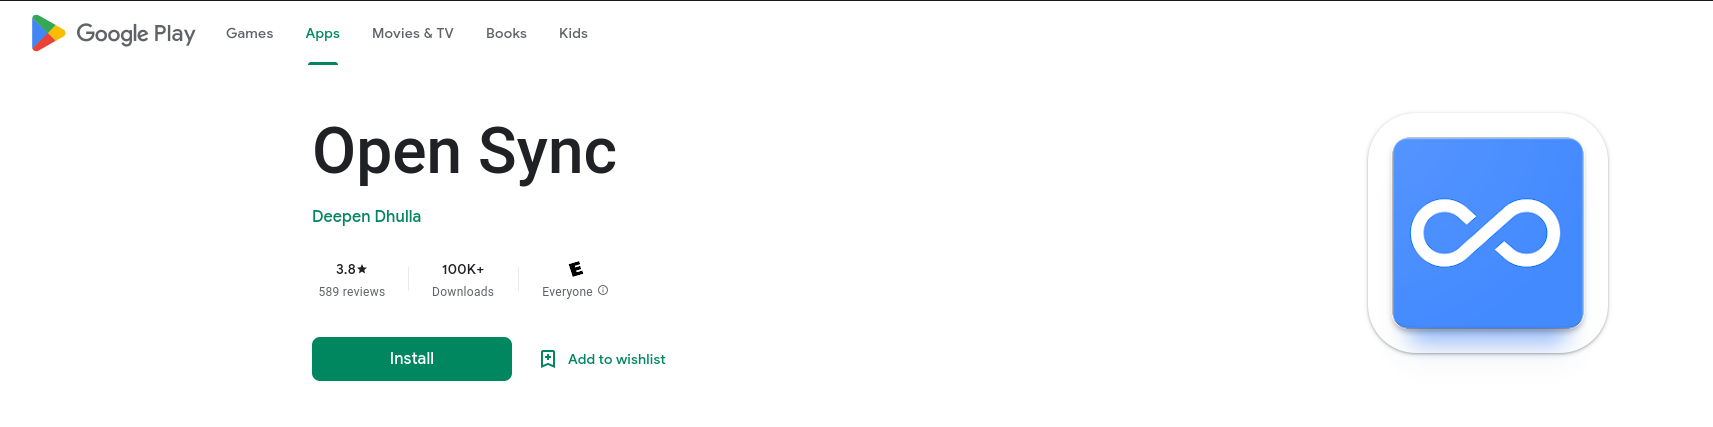
Prerequisite: You will need to download Open Sync from the Play Store before you can continue configuration.
Step 1:
If you followed the Calendar tutorial, you'd have learnt how to add your CalDAV/CardDAV account, we will go over it again, however, if you already configured and connected your NextCloud account, skip to Step 5 of this article.
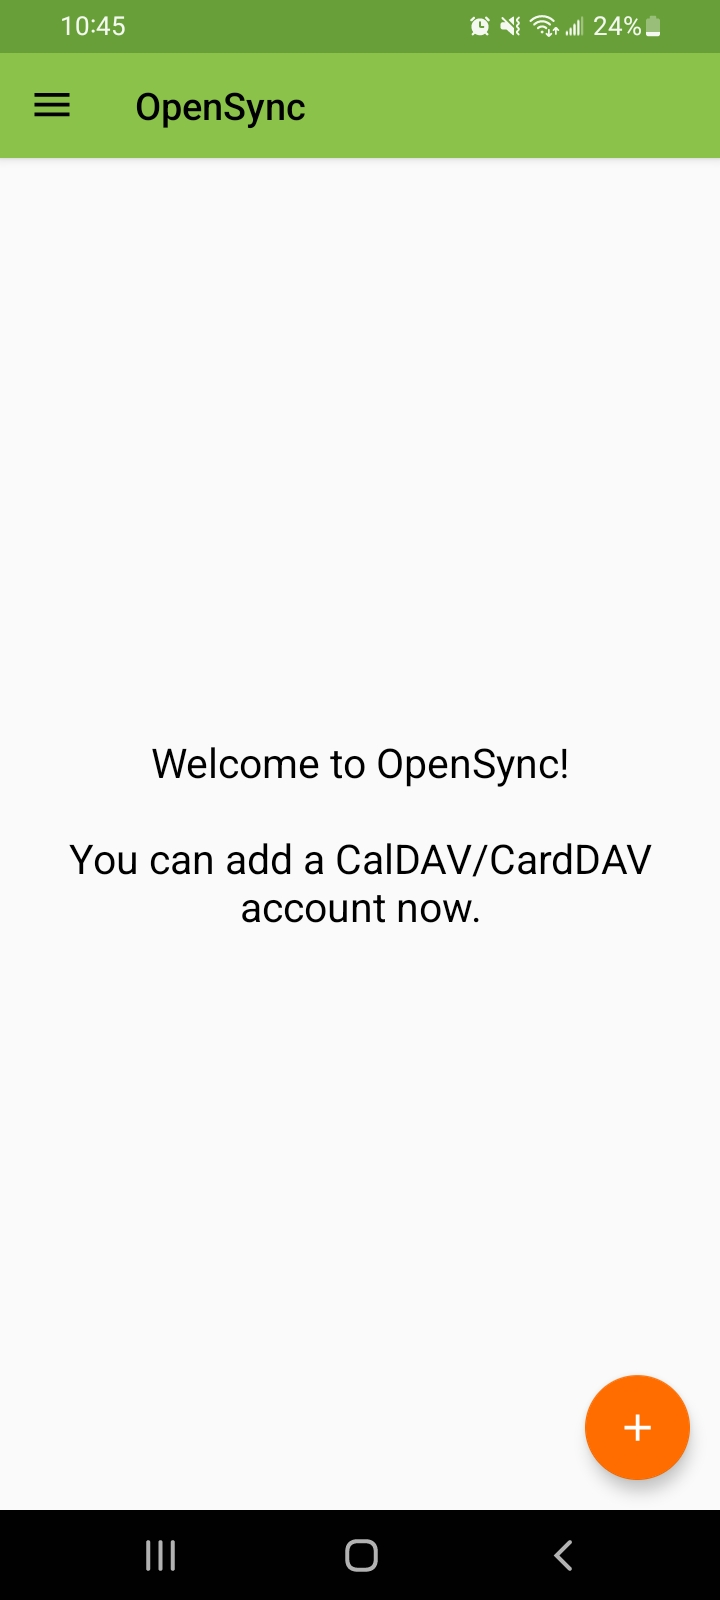
You'll only need the CalDAV address for everything to work, so press the Orange Plus to get started.
Step 2:
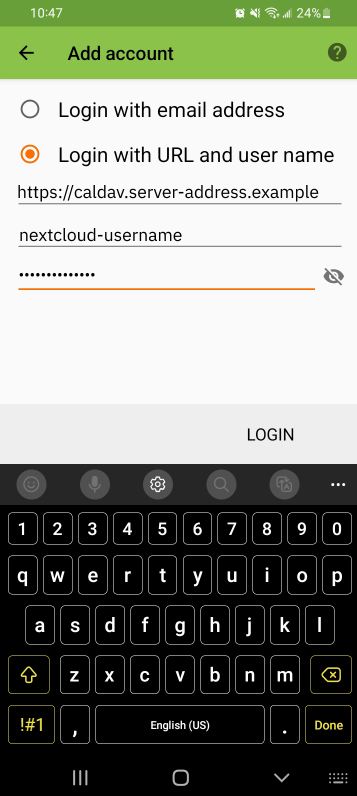
Toggle the second option to login with URL and Username so we can point put in the CalDAV Address, the first option won't allow us to do so. Once you put everything in, hit login.
Step 3:
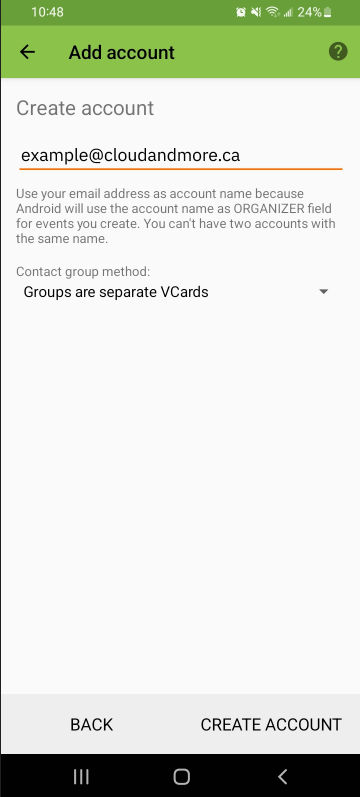
Open Sync allows you to add multiple accounts, this next screen is only asking if you want to rename your account, your email should what automatically populates the username textbox. Name it whatever you want or leave as is and Create Account.
Step 4:
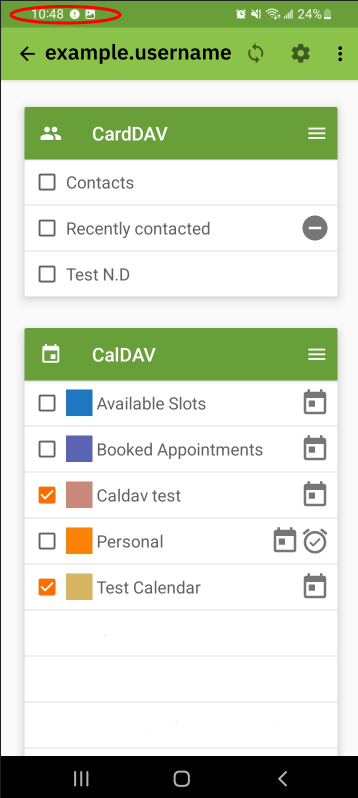
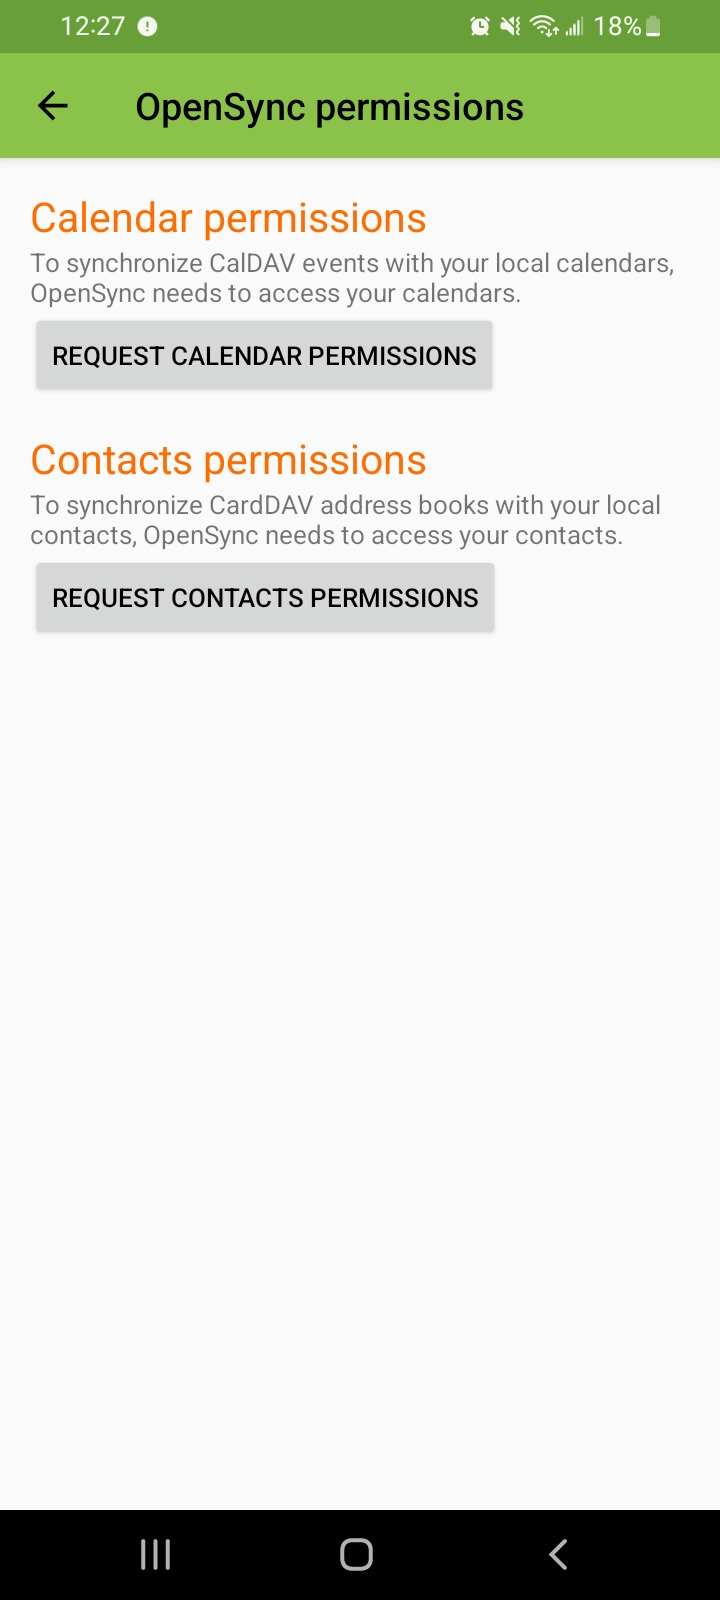
Now all your Calendars should be seen on the next screen as well as a list of Contact groups. Select the ones you'd like to add. Around this time, you should get a notification on your device asking for Open Sync permission to access your phones Contacts and Calendar. Allow both to proceed further.
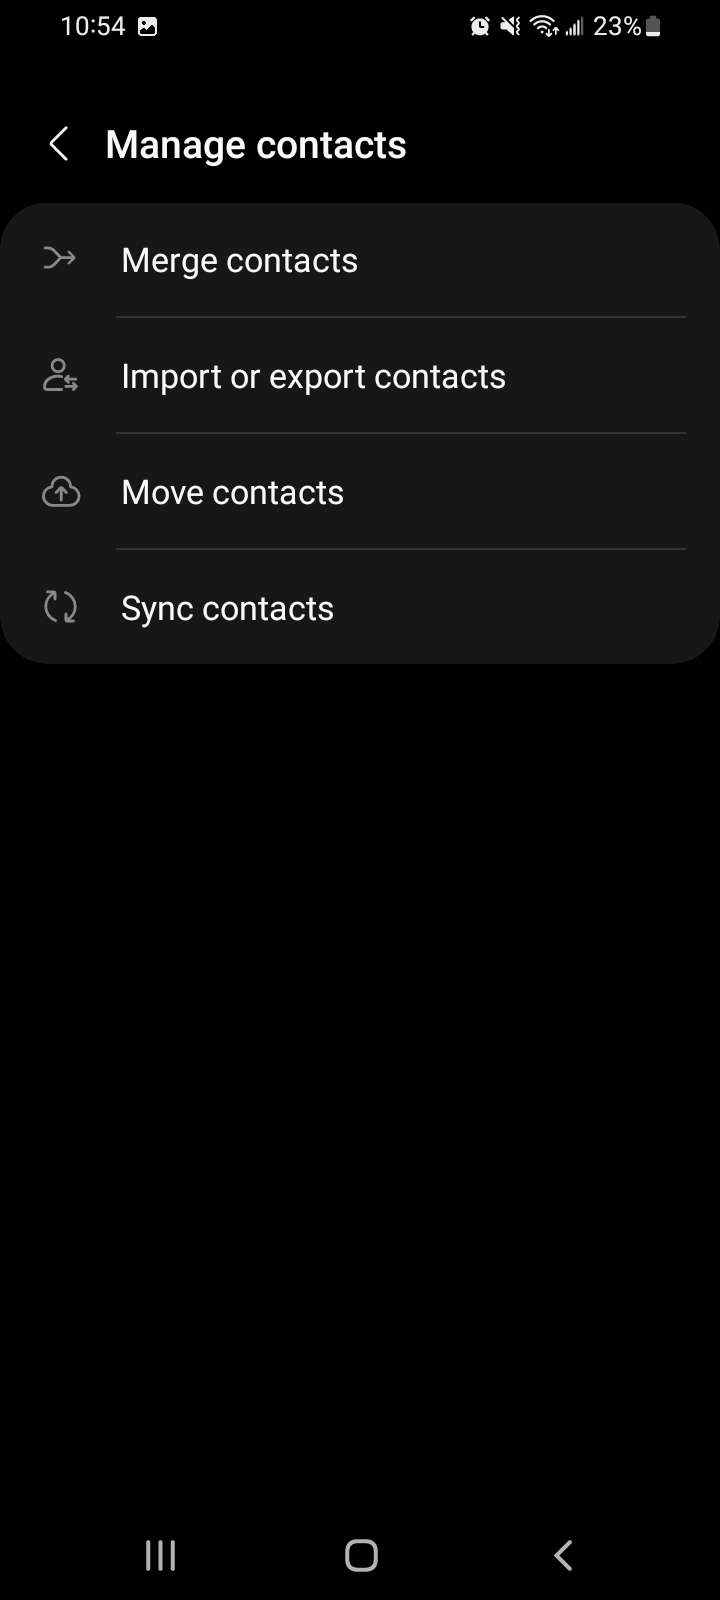
Step 5:
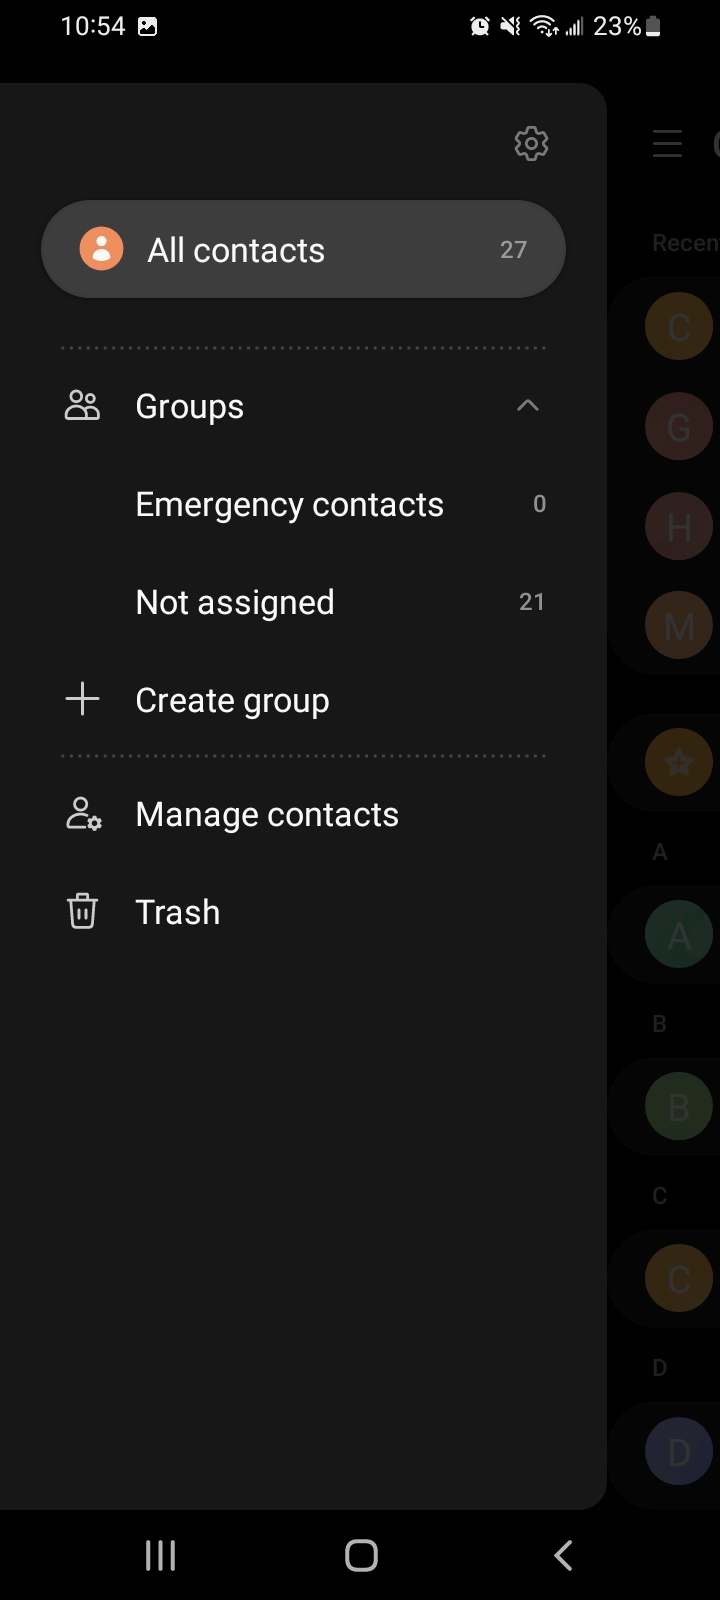
Open up your Contacts app and press the button with the three columns at the top of the page. press on Manage Contacts to continue.
Step 6:
Press the Sync Contacts button.
Step 7: Make sure both Open Sync toggles are toggled on, then at the bottom of the page, press Sync, then go back to your Contacts.
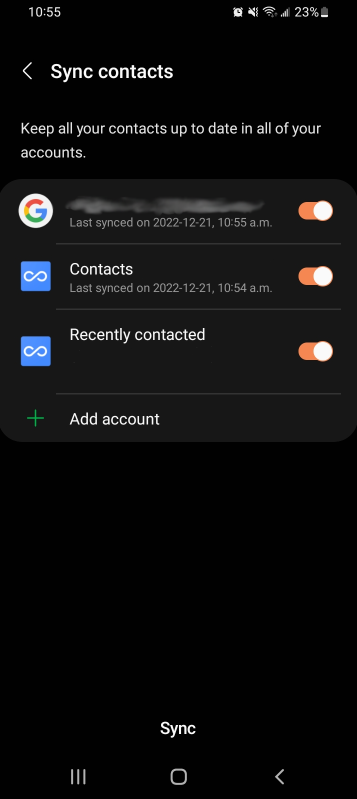
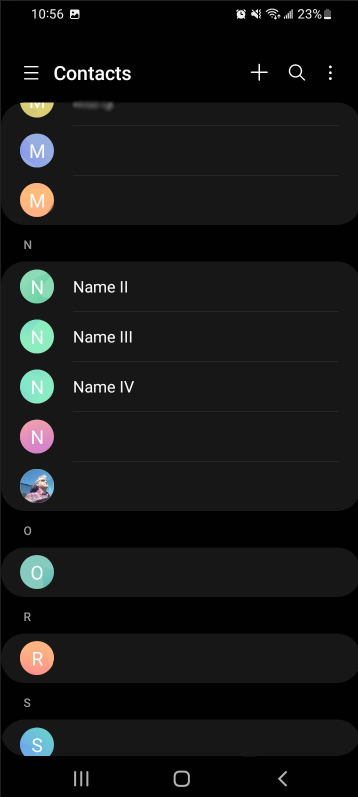
Back at your Contacts page, you should see new your new contacts now, Congratulations, you're all set now!
(Names have been blurred and blanked to keep contacts anonymous, Name II, Name III and Name IV are fake Contacts for testing in this article, your own contacts may very)